Complete Guide to Above Snakes
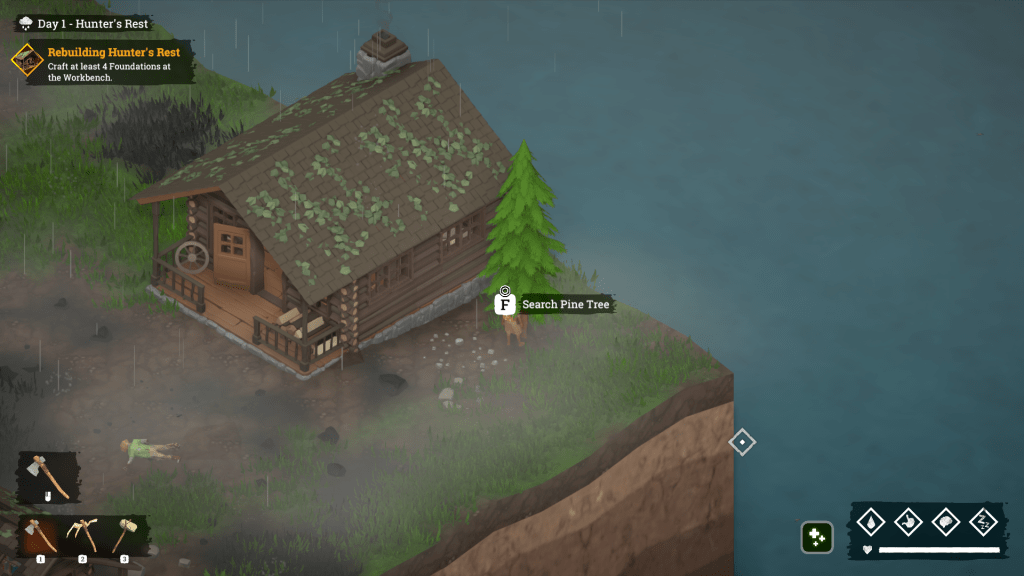
Above Snakes’ unique take on the worldbuilding aspect is remarkable. Instead of procedurally generated map tiles (which is a common practice nowadays), the game puts you in the driver’s seat, letting you create the entire world from scratch. You begin the game with a single tile, and as you gain experience, you unlock more tiles/biomes that can be placed adjacent to existing tiles. There is an optimal way of setting up said tiles, which we’ll be discussing later in the beginner’s guide. But for now, here is a brief overview of the game.
Above Snakes is an open-world game focusing on survival, crafting, and exploration. The low-poly graphics, paired with an isometric POV and smooth ambient music, offer a relaxed gaming experience. However, the game is anything but easy, and you’ll have to be mindful of a lot of things if you want to survive. We have more guides on crafting recipes, fishing, gold farming, etc. to help you out if you’re stuck. Now, without further ado, let’s begin with the beginner’s guide.

Table of Contents
Tile Placement: How to manage your tiles
How does tile placement work?
You accumulate experience by engaging in daily activities. Once you reach a certain threshold, a new tile will become available, and it’ll be locked. You can’t place it right away, and you’ll need the Cartographer’s Table to unlock it in the first place. A tile is known as a “world piece” in Above Snakes.

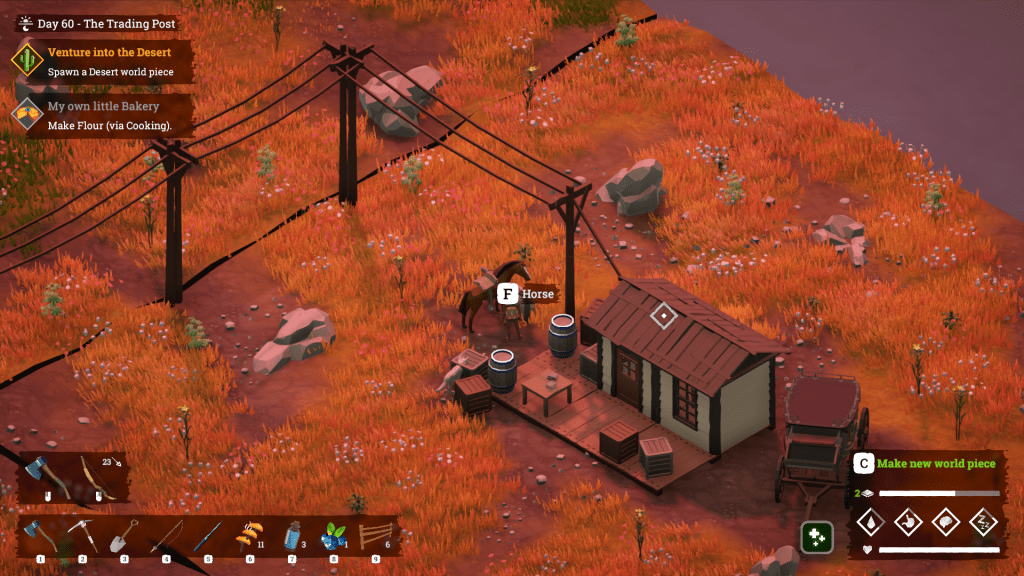
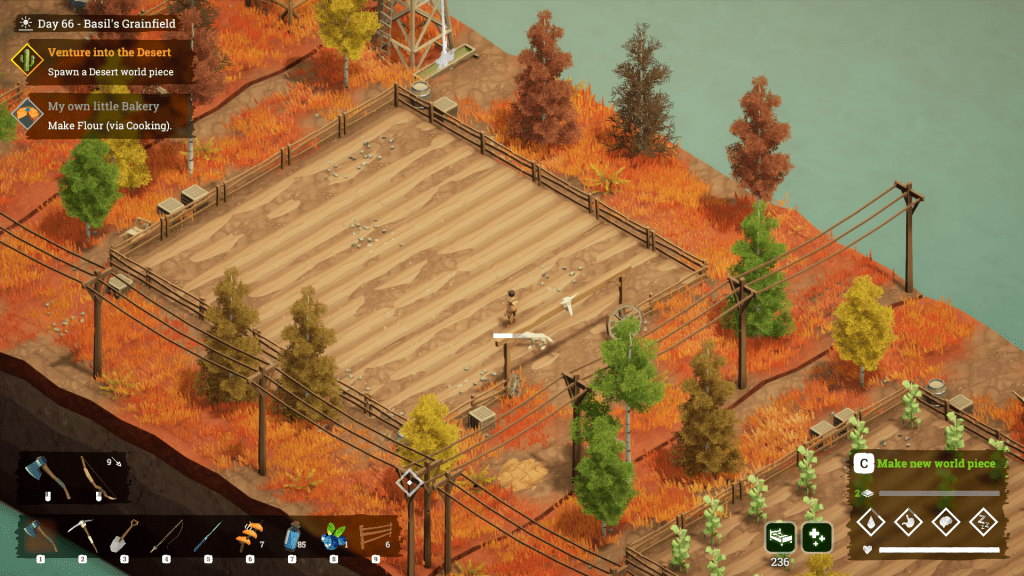
Once unlocked, you can place those tiles as many times as you want. However, you’ll have to unlock a placeable tile by doing activities first. Press “C” to make a new world piece, aka tile.
When should you place the tiles?
It’s best not to place the same tiles repeatedly. Finishing any pending missions will unlock new tiles first; don’t place them instantly, and always be on the lookout for new tiles. For example, the first tile that you unlock is the Plains/Pine Forest tile. As you keep playing, you’ll discover more, such as Prairie, Lake, etc.
Prioritizing Resources
You should always place tiles depending on the resources you need at any given time. Placing a bunch of Pine Forest tiles is inefficient. You don’t get tiles back when you destroy them. Misplacements come at the cost of permanent progression, so check your requirements before deciding on a tile.
It’s best to place one of any given biome/tile type and keep the rest as reserves. For instance, the Pine Forest biome provides logs, deer, and honey. There are better food alternatives later in the game, and honey isn’t all that useful in Above Snakes. You’ll need beeswax to upgrade your workbench and tools, but planting four forest biomes for bees isn’t efficient.

One of the best ways to keep track of your requirements is through missions. The game leads you pretty well through the main and side missions. Whenever you see a new resource appear in one of the mission objectives, it’s usually time to plant a new tile.
Set up multiple bases
Instead of returning to the first house you’ve ever built, create separate homes all around the map, especially if you have a lot of tiles. We usually suggest 2-3 homes, each with at least a workbench and bed, so if you end up stranded at night, you’ll have a place to rest instead of backtracking to your main base.
Junk
Do not discard anything in Above Snakes, even your old gear. Every item can be sold at the trade post, and selling scrap parts is a great way to earn spare change for the majority of your expenses.

Some junk may seem useless at the beginning, but it may be required to craft valuable items in the mid to late game. For instance, bones are required to craft the bone axe, zombie teeth to craft necklaces, etc.

Since you’re starting out, it’s better to hoard stuff because you never know when you might need something for a quest or to craft a specific item.
Resource Management
How to properly gather resources
When you’re gathering resources, make sure you’ve exhausted the source before leaving. In other words, only leave after the hourglass icon has shown up. If you leave before that, then the next time you return to the same source, it will continue from where you left off.

For example, you can gather berries three times from a bush before it’s exhausted. So if you leave only two times, leave, and return a few days later, then the same bush will get exhausted after you’ve collected from it only once. The same applies to fishing, searching for pine trees, mining rocks, and every other collectible resource in the game.
Craft a recipe book
A recipe book only stores the recipes that you’ve already cooked. Some recipes are simple, while others require more ingredients.

Instead of keeping everything stored in your head, craft a cookbook, and every time you cook something new, it automatically gets recorded in it. So the next time you’re preparing to cook a higher-tier food, you’ll have the recipe book for reference.
Loot respawn
Chests respawn items after a while, but not crates and barrels. So once you’ve unlocked a chest, return to it after a while, and you can open it once more for some additional loot. Keep a stack of 10-20 keys for such encounters. If you’re out, you can always buy from the trade post.
Angle your trees
When you’re cutting down trees, angle them towards other resources, such as bushes, shrubs, other trees, and rocks. When the tree falls, it destroys all other resources in its path, saving you the time to individually gather the rest.
Visit NPCs and settlements often
Village tiles with NPCs usually have the most important loot, such as birch trees, coffee beans, and fish oil. The birch biome contains important resources such as birch bark and resin, which are available later in the game. Instead of waiting for the biome, you can farm one or two of the trees from specific village tiles.
Combat
Defeating zombies and other violent creatures in Above Snakes isn’t too difficult. It’s more of a laid-back experience. You can easily dodge their attacks and hit them with an ax. Once you unlock the bow and arrow, they stop being a threat altogether. You’ll be hounded by 3-4 zombies every night after day ~40. They are easy to take down, and by this point in the game, you’ll have plenty of healing items to mitigate the damage you take during combat. Just carry a few healing items with you all the time and you’ll be fine.
Workbench
Workbench upgrades
The workbench is the most important thing in Above Snakes that you’ll encounter. It lets you unlock more crafting stations and structures, such as the cartography table, tannery, sawmill, firepit, well, etc. Upgrade the workbench as soon as possible to the next tier to gain access to the latest gear.
Managing shelter levels
Depending on your shelter level, you’ll gain access to shelter perks. Some perks increase your damage while improving your sanity and fatigue.

A higher shelter level gives you more perks, and to get there, you’ll have to upgrade your workbench and build more structures. Do note that demolishing structures brings down the score, so avoid building unnecessary stuff.
Don’t Overdo Crafting
Don’t keep hoarding resources. Always craft what’s necessary and keep the rest for when you need it. Doing so slows down your overall progress and makes the game somewhat boring as you delve deeper into the difficult mechanics.
Maintain an emergency stash of food, water, healing items, and the stuff needed to craft them. For the rest, craft only when you need them.
Keep Exploring
In Above Snakes, the early missions and tutorials are enough to get you going, but as you keep progressing, the missions end and you’re left with no goals in particular. Unless you’re a hoarder, we suggest exploring the world. After the lumberjack mission, pack supplies and craft a workbench before heading out. Once you’re a good distance away from your home, set up a second shelter. Don’t simply keep hoarding resources; explore every objective you can find on the map. Good luck!
Above Snakes has one of the best tutorials and does a decent job of leading the players through the early game. Despite all the assistance, many players are having trouble finding some common items in the game, such as beeswax, wheat, iron, etc. In this guide, we’ll be addressing those problems and explaining how you can find them in the game. Let’s begin!
Fast Travel
To fast travel in Above Snakes, you’ll have to visit a hitching post. The first one is located near the Trading Post in the Prairie biome. Once you get there, get close to the horse and press F.
Do note that you won’t be able to travel fast unless you have a carrot with you. Every fast trip costs one carrot; that is, you’re feeding the horse to take you places, which is quite plausible.
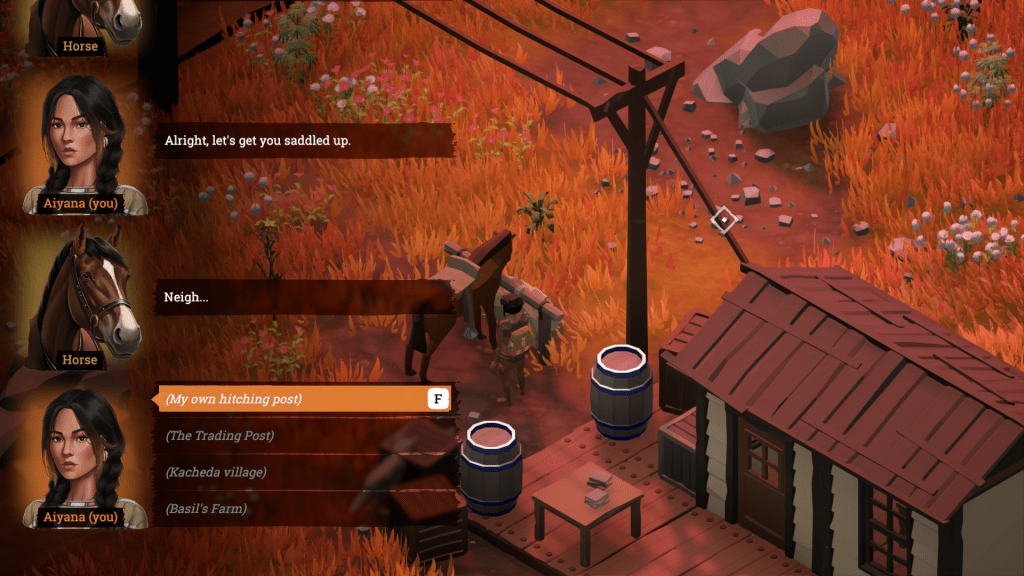
Once you’ve played the game for a while, you’ll unlock more hitching posts.
Beeswax
To farm beeswax, simply find a tree with a beehive and keep hitting it until the beehive falls off. You might get stung a bit, but simply ignore it and keep chopping. You’ll recover from the damage in no time.

Collect the contents of the beehive once it drops. A single beehive will typically produce 2x honey and 1x beeswax.
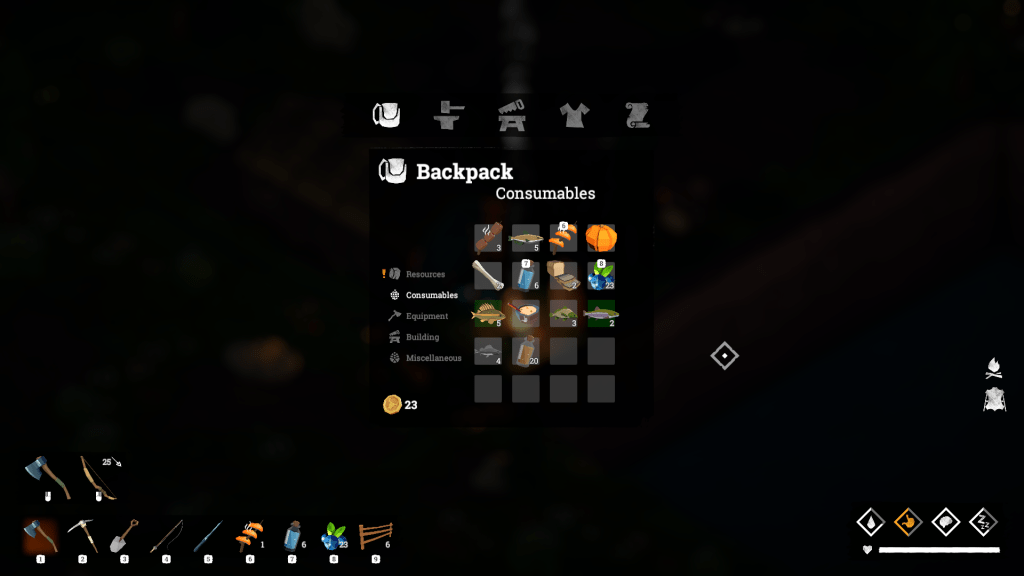
How to move items
To move items around, including walls and structures, simply select the hammer from your backpack or your hotkey bar. Once the blue outlines appear on the screen, hover the cursor over any moveable object.
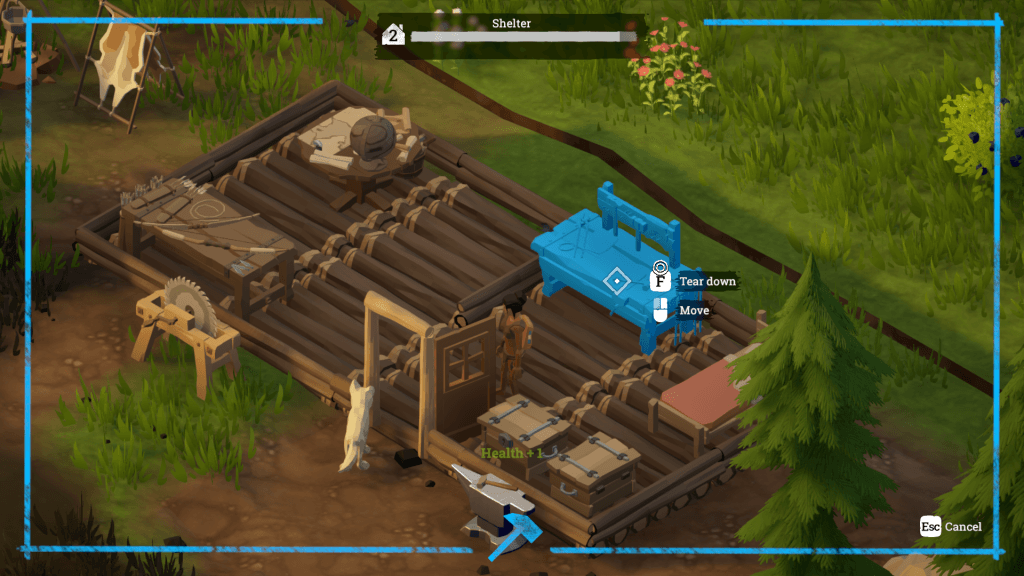
You’ll have two options. You can either break them down into resources or move them to another location. Simply left-click on the item and drag it to the desired location.
Clay and Resin
In Above Snakes, clay is first unlocked in Basil’s Farm, and you can dig up clay using a shovel.

There are two different locations on that tile where you can dig up clay. Once more farmland tiles are unlocked, you’ll be able to farm clay more consistently.

You get resin by cutting down birch trees, and to do so, you’ll need the iron axe. Note that you’ll have to build the anvil to craft an iron axe.
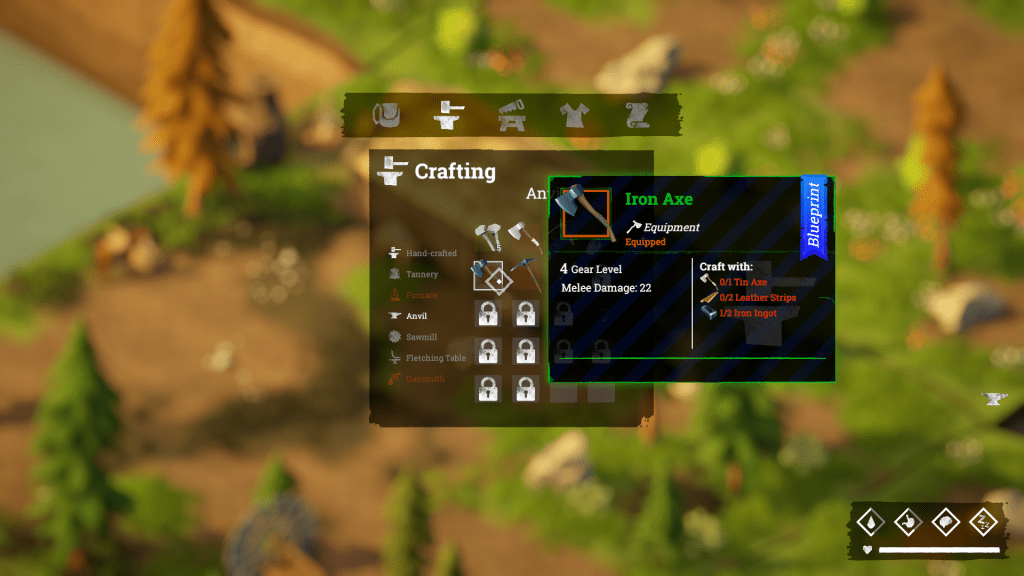
The birch trees first appear in the Kacheda Village tile. Once you have the iron axe you’ll be able to chop them down.

Wheat and Iron Ore
After completing the missions in Basil’s Farm, you’ll get access to two more tiles. One of them is the wheat tile. After you’ve crafted the tile, simply walk into the wheat field and start chopping with an axe. Collect all the wheat that drops in the field, and you’re good to go.
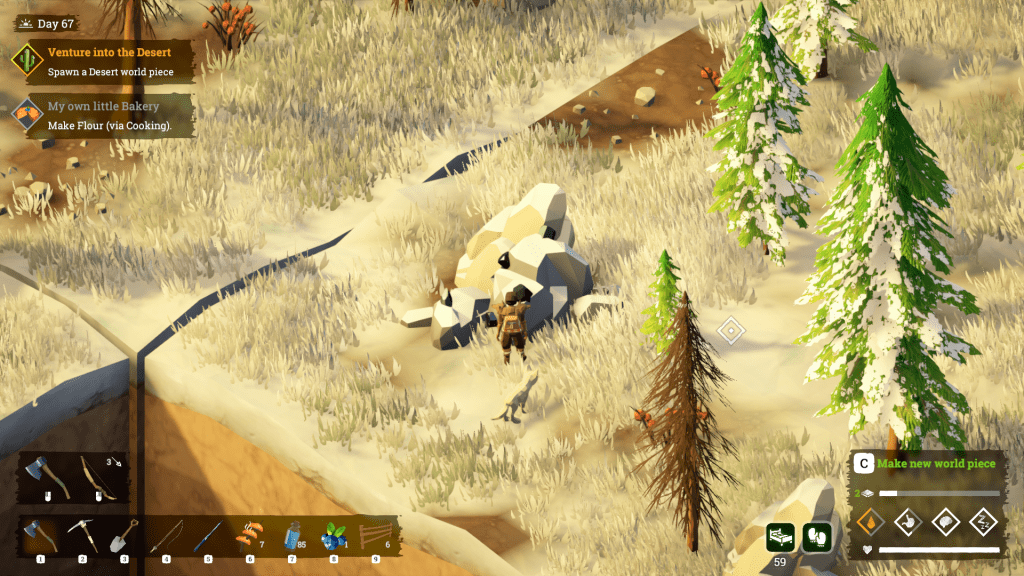
Iron ore is available in the snow-covered forest tile.
Wire
You cannot craft wire in Above Snakes; however, you can find it spread across different locations. There are two wires near the power lines in the Corpse Creek area. You can even buy it from the vendor inside Corpse Creek.
Finding a bandage
You’ll find the bandage in the long house where the old man lives (Tutorial mode).

Simply enter the house and head to the back. You’ll find it inside the crate, just beside the barrel at the end of the house.
All Recipes
Above Snakes has a pretty decent list of cookable items, and you’ll have to learn a great number of them if you want to survive out in the wild. Although food doesn’t rot in the game, not all biomes have the same ingredients available, so the more options you have, the better your chances of survival. Of course, you can hoard 100 meat skewers in the early stages and never worry about food, but where’s the fun in that?
This is a game of survival, and the real challenge comes from staying alive in the middle of all the hardships. In this recipe guide, we will be discussing all the ingredients and the resources you can craft using them.

List of Ingredients and Their Locations
Here’s a list of ingredients and their locations that might be helpful to you if you have just started playing Above Snakes:
1. Dirty Water – Any tiles with water.
2. Water – Obtained from cooking/boiling dirty water.
3. Huckleberry – Any Plains tile.
4. Fish Meat – Catch fish from any water tile and gut them.
5. Bones – Kill zombies and loot them.
6. Meat – Gut any animal (deer, snake, rabbit, etc.). Found in multiple tiles (Pine Forest, Prairie, etc.)
7. Coffee Beans – Any Plains tile.
8. Roasted Coffee beans – Obtained from cooking coffee beans.
9. Honey – Any Pine or Birch Forest tile. Hit trees containing beehives,
10. King Bolete – Any Pine or Birch Forest tile.
11. Vanilla Flower – Any Prairie tile.
12. Wild Mint – Any Prairie tile.
13. Wild Carrot – Any Prairie tile.
14. Thistle – Within the Kacheda Village Tile.
15. Corn – Within the Cornfield tile.
16. Wheat – Within the Grainfield tile.
17. Pumpkin – Found in both Cornfield and Grainfield tiles.
18. Winterberry – Obtained from cooking wheat. Found in the Snow-Covered Forest tile.
19. Flour – Buy it from the Corpse Creek and Desert Merchants.
20. Jalapeno – Buy it from the Corpse Creek and Desert Merchants.
21. Desert Sage – Any Canyons tile.
List of All Recipes
1. Water – Cook Dirty Water. Each stack gives you +50 Thirst.
2. Flour – 3x Wheat. No effect.
3. Bread – 3x Flour. Grants +30 Hunger, -5 Thirst.
4. Cornbread – 2x Corn and Flour. Grants +30 Hunger, -5 Thirst.
5. Pumpkin Bread – 2x Pumpkin and Flour. Grants +35 Hunger and -10 Thirst.
6. Carrot Soup – 2x Wild Carrots and Water. Grants +35 Hunger.
7. Weak Coffee – Roasted Coffee Beans and 2x Water. Grants +10 Thirst, +7 Fatigue.
8. Coffee – 2x Roasted Coffee Beans and Water. Grants +5 Thirst, +15 Fatigue.
9. Fertilizer – 3x Bones. No effect.
10. Huckleberry Bowl – 3x Huckleberry. Grants +25 Hunger, +10 Thirst.
11. Huckleberry Tart – 2x Huckleberry and Flour. Grants +30 Hunger, -10 Hunger.
12. Grilled Fish – Cook Fish Meat. Grants +10 Health, Hunger +15.
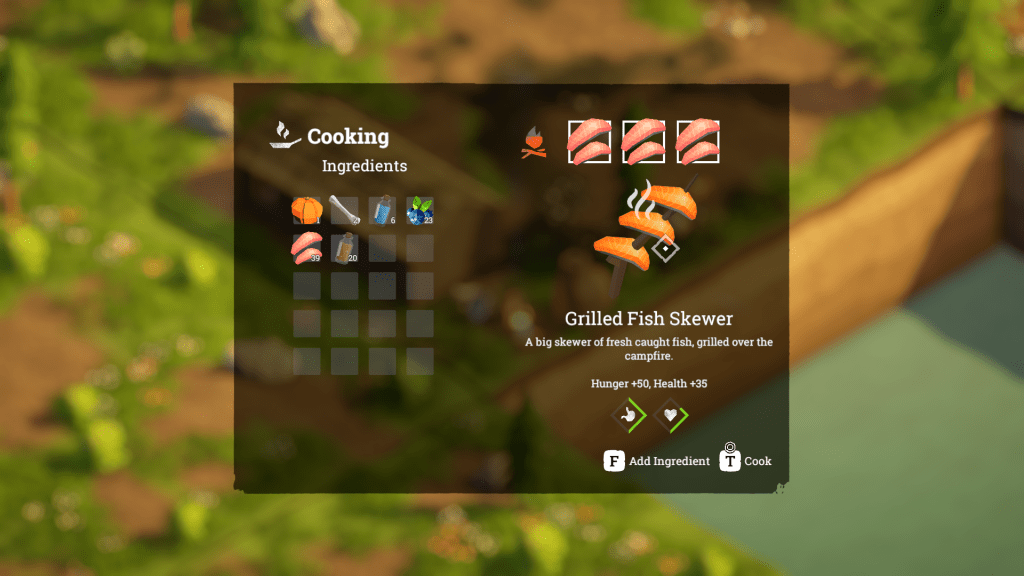
13. Grilled Fish Skewer – 3x Fish Meat. Grants +35 Health, +50 Hunger.
14. Meat – Cook Raw Meat. Grants +20 Hunger.
15. Meat Skewer – 3x Raw Meat. Grants +65 Hunger.
16. Spicy Meat – Jalapeno Pepper and Raw Meat. Grants +20 Hunger and +10 Fatigue.
17. Meat Pie – 2x Raw Meat and Flour. Grants +20 Hunger, -5 Thirst, +10 Sanity.
18. Mint Tea – 2x Wild Mint and Water. Grants +10 Thirst, +20 Fatigue, +5 Sanity.
19. Weak Mint Tea – Wild Mint and 2x Water. Grants +10 Fatigue, +15 Thirst.
20. Smooth Mint Tea – Honey, Water, and Wild Mint. Grants +10 Thirst, +10 Fatigue, +10 Sanity.
21. Miracle Powder – 3x Desert Sage. +50 Health.
22. Mushroom Soup – 2x King Bolete and Water. Grants +20 Thirst, +20 Hunger, +20 Sanity.
23. Pound cake – 2x Vanilla Flower and Flour. Grants -5 Thirst, +30 Hunger, +5 Health.
24. Syrup – Honey and Vanilla Flower. Grants +20 Fatigue, -30 Thrist, +20 Health.
25. Thistle Tea – 2x Thistle and Water. Grants +20 Health, +10 Thirst.
26. Weak Thistle Tea – Thistle and 2x Water. Grants +10 Health, +15 Thirst.
27. Winterberry Muffin – Winterberry and Flour. Grants +15 Hunger, -5 Thirst.
28. Winterberry Tart – 2x Winterberry and Flour. Grants +30 Hunger, -10 Thirst.
Fishing
Fishing is one of the many activities in Above Snakes. There isn’t much to it. Once you’ve crafted the fishing rod and unlocked a few lake tiles, you’re good to go. Now let’s take a look at some fishing tips to help boost your fishing game.

How to get the Fishing Rod?
To get the fishing rod blueprint, you’ll have to craft rope. You’ll need two bits of hemp (prairie) and two plant fibers to craft a single rope.

Now enter the crafting section, and you’ll see fishing unlocked. You’ll need two branches and a rope to craft the fishing rod.
Where do you catch them?
In Above Snakes, you can catch fish in any biome with a water body, including the frozen lake.

How to fish?
To catch your first fish, head over to the lake and stand close to the ripples in the water. Equip the Fishing Rod and hold down the R button to fish.

Repeat until the location is exhausted, then head over to another spot.
How to eat them?
You’ll have to gut the fish before cooking it. Once you have the fish meat, you can cook it over the fire.
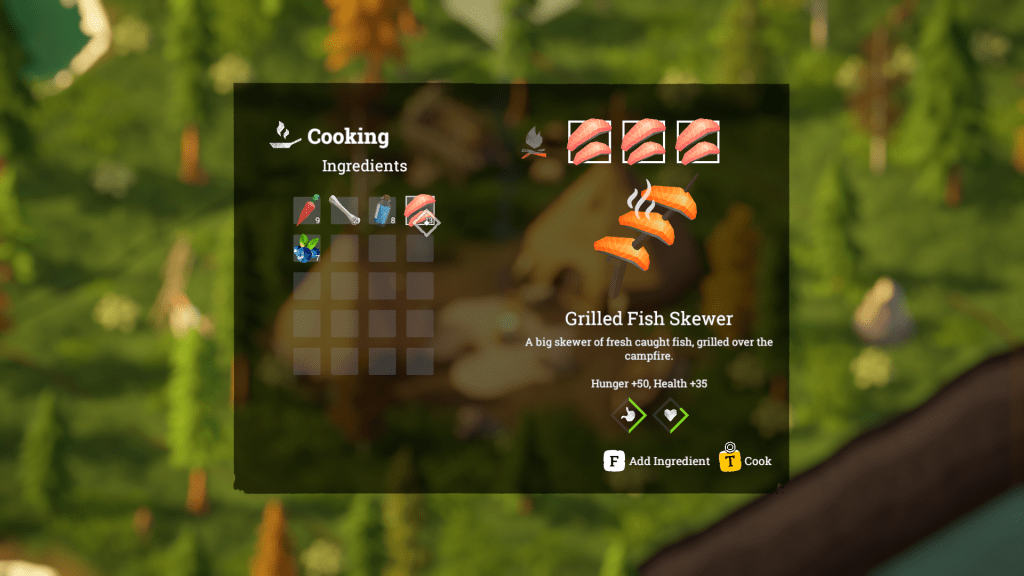
You can cook grilled fish and grilled fish skewers using fish meat.
Selling fish for gold is inefficient. It’s better to simply hoard it and use it as a decent food supply. In the next section, we will learn about gold farming and a simple trick to farm lots of gold.
Although gold isn’t a super important resource, it can speed things up as you reach the end. Do note that this can get a bit boring, so we suggest you play around for a bit and try to enjoy the game because it’s quite fun, to begin with. You can even get to the 50%+ mark without having to worry about gold. Once you’re nearing the mid-late stage in Above Snakes, you can worry about gold farming.
And for those of you who are gunning for the 5,000 gold achievement, make sure to read our Above Snakes 100% achievement guide if you’re stuck with any of the others. With that out of the way, let’s begin!

Things you will need to farm gold
In this guide, we’ll be farming clean water to trade them for gold. We’ll need the following to start the process:
1. A foundation – You’ll need one to place the bed. There is no need for walls since there are no mobs that attack you while you sleep.
2. A bed – To recuperate stamina after scooping water.
3. Campfire – To cook fish and water. We’ll be selling the clear water for 3 golds a piece.
4. Fishing Rod – To catch fish. Berries aren’t enough to quench your hunger. Fish skewers replenish more of your hunger bar.
Now that we have everything ready, it’s time to start scooping water.
How to scoop water efficiently
Start with the tile placement
There is no optimal way of setting up the lake tiles. However, it’s best to place your bed at the corner of the lake bed and cover it on three sides with other lake tiles.
Stock Up food
Before you begin the scooping, catch a horde of fish (until the spots are exhausted), gut them, and cook them.
We usually suggest grilled fish skewers (cook 3x fish meat). It gives you 50 hunger and 35 health. Two of them will last you two to three days.
Once you’ve exhausted all the fishing spots, you should have enough for 15-20 days.
Start scooping water
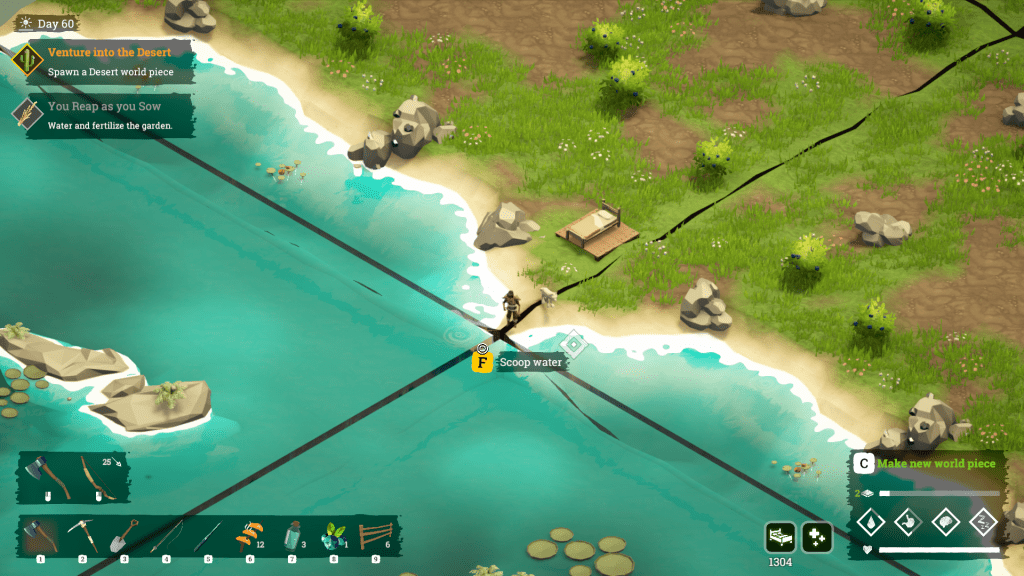
You’ll have more than enough water to quench your thirst, and now that you have enough food to last for a few days, start scooping water.
Repeat until your inventory is filled with dirty water.
Start boiling water
Once you have enough dirty water, light the campfire and start boiling. When all the water is cooked and ready, head over to a chest and store it. Keep repeating until you have enough, then sell them all to a vendor, and you should be earning a lot of gold in no time.
That’s all for the gold farming guide. Keep repeating until you’re satisfied.