Slay the Princess: Full Walkthrough + All Possible Endings
Slay the Princess, narrated by two of the finest voice actors in the horror community, Jonathan Sims and Nicole Goodnight, stands out as a gem within the cosmic horror genre. This work is a flawless masterpiece that skillfully explores the intricate relationship between pain and love, navigating the broad spectrum of emotions that lie between them. While the visual manifestations of these emotions may be graphically intense, what’s truly astonishing is the tender core that seamlessly binds together all the gore and horror.
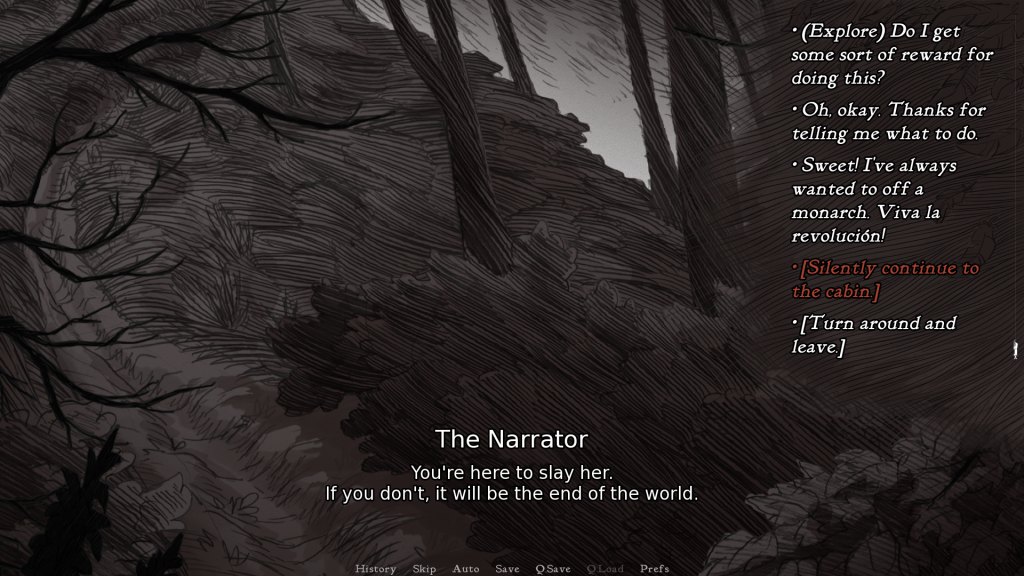
Your journey commences in a forest with the sole purpose of slaying the princess. However, it
unfolds into a cyclic pattern of killing and being killed. Each interaction gradually transforms the
princess both physically and mentally, turning her into a new vessel until the cycle concludes,
prompting a fresh start. This narrative serves as a profound journey of self-discovery and
transformation, tugging at your heartstrings in a way unlike any other game you’ve experienced.

Slay the Princess boasts multiple endings, each capable of shaking you to your very core. It’s
impossible to obtain all the vessels and endings in a single playthrough. So before you start with
our walkthrough and guide, we suggest you save the game at critical junctures. This’ll let you replay scenes with different choices, and discover all possible endings:
Table of Contents
Razor Vessel
Chapter 1
Follow these steps to transform the Princess into the Razor vessel:
1. Continue to the Cabin
2. Enter the Cabin

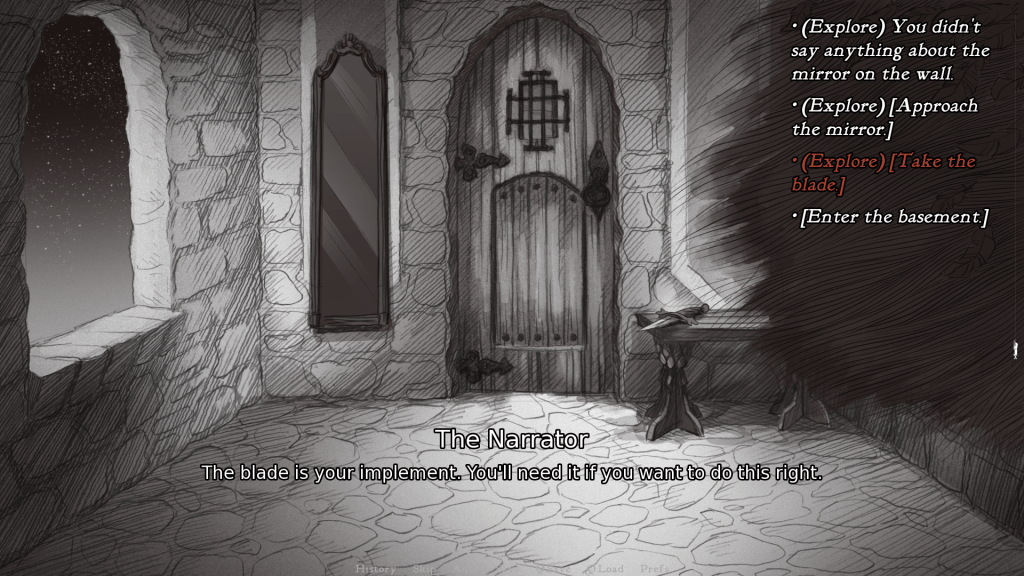
3. Take the blade
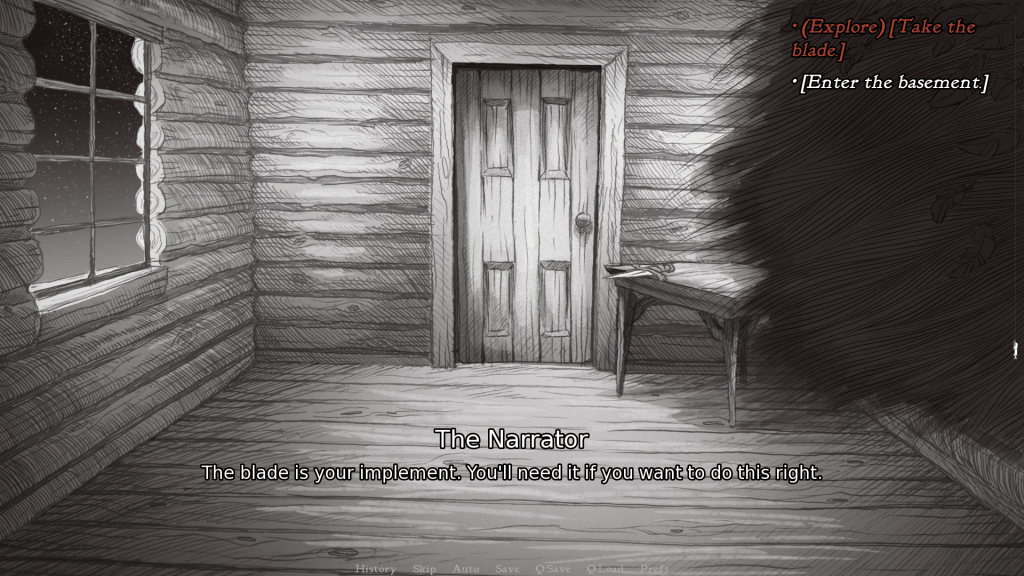
4. Travel down the basement

5. Steel your Nerves
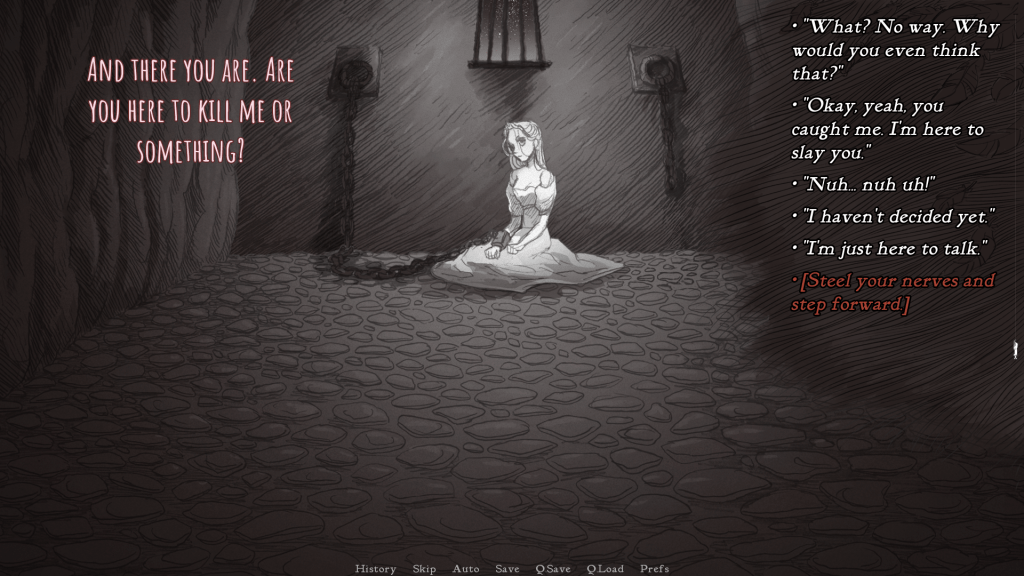
6. Slay the Princess

7. Check for a pulse
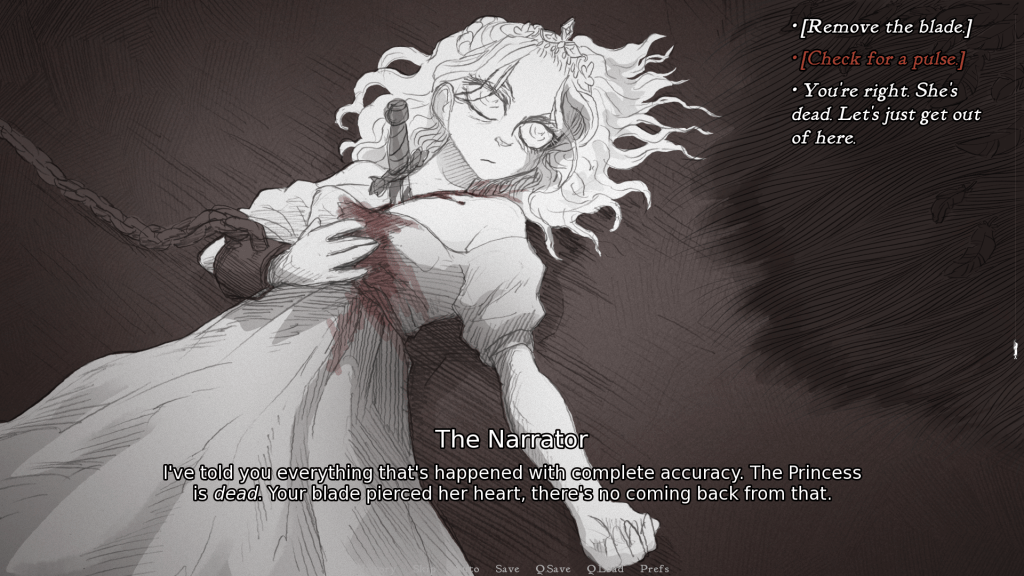
Upon completing the above steps, you’ll start a new chapter called The Razer. Repeat the same steps.
Chapter 2 – The Razor
You’ve now entered the Razor Vessel Loop. Repeat all the steps from Chapter 1 and attempt to slay the Princess.

Chapter 3 – The Arms Race

Chapter 3 begins after you’ve been eliminated in the previous encounter. This time, you’ll start right at the cabin. Once again, repeat the steps from Chapter 1.

There are alternative options other than fighting to the death. No matter what you choose, you’ll end up fighting her. Keep repeating until you reach the next chapter.
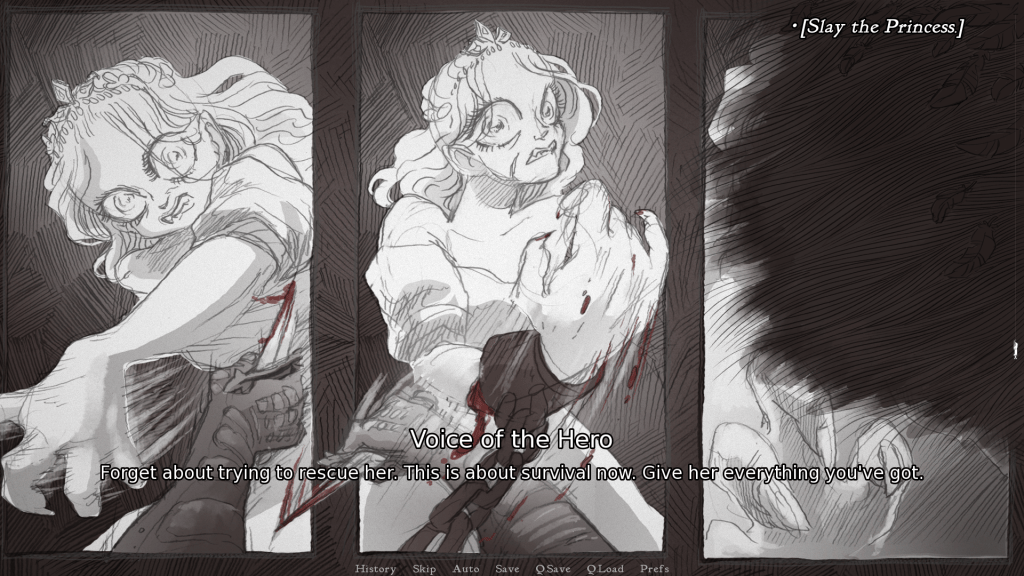
Chapter 4 – Mutually Assured Destruction
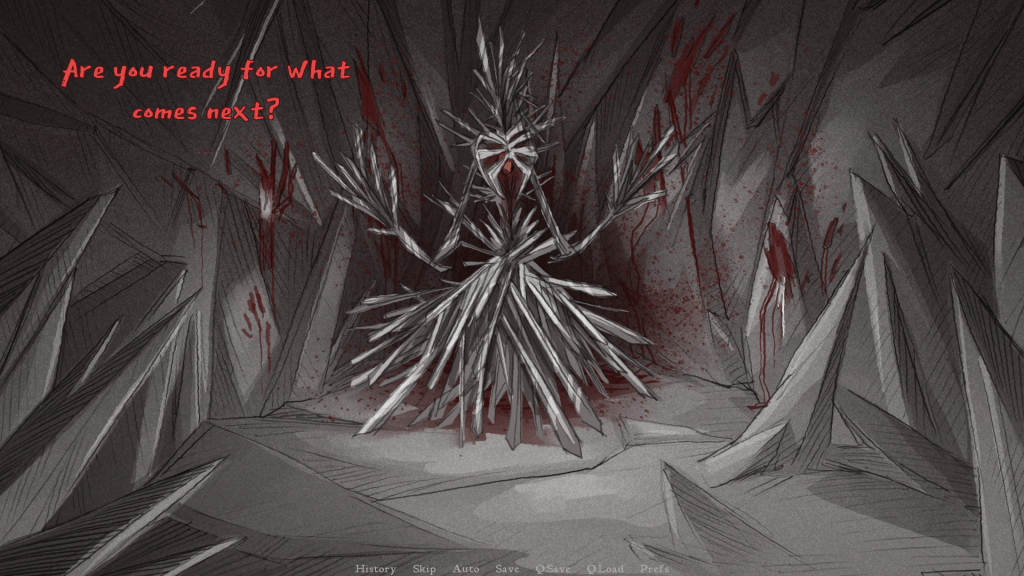
A final battle ensues after she transforms into a horrific figure with jagged edges.
You pierce her heart at the end of the battle, and everything goes dark before a mirror appears in front of you.
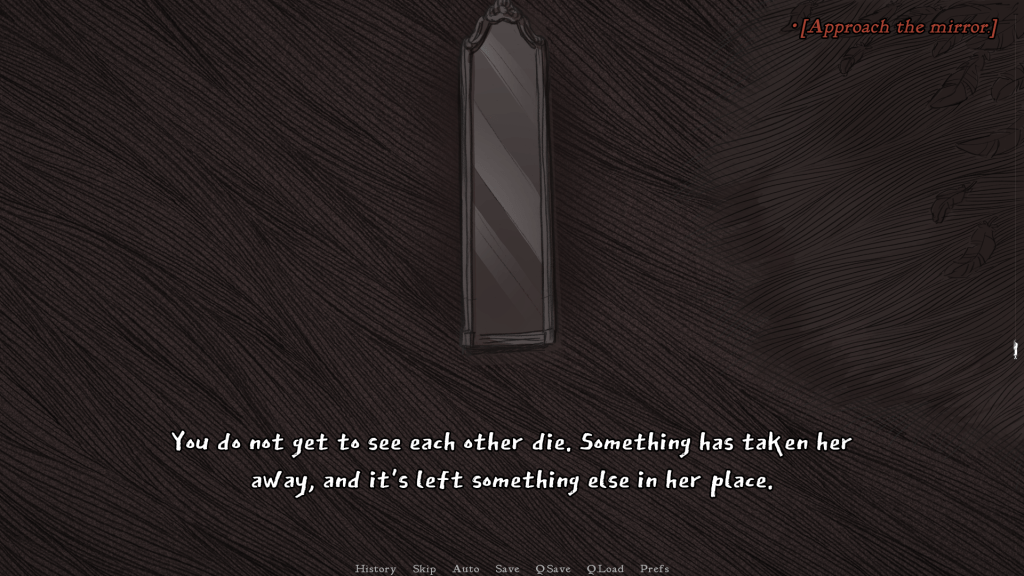
Keep clicking the prompts until you come across the entity she has now become. Go through the dialogue, but do not attack her or destroy your body. There are other endings we need to reach, so wait until you see the, “Ok. Make me forget.” option. Click on it to return to Chapter 1 and start a new loop.

Tower Vessel
Chapter 1
Enter the cabin like before and take the blade. Now head down the basement and choose Steel your Nerves. The options from here on out will be different from the last chapter.
1. Drop the Blade
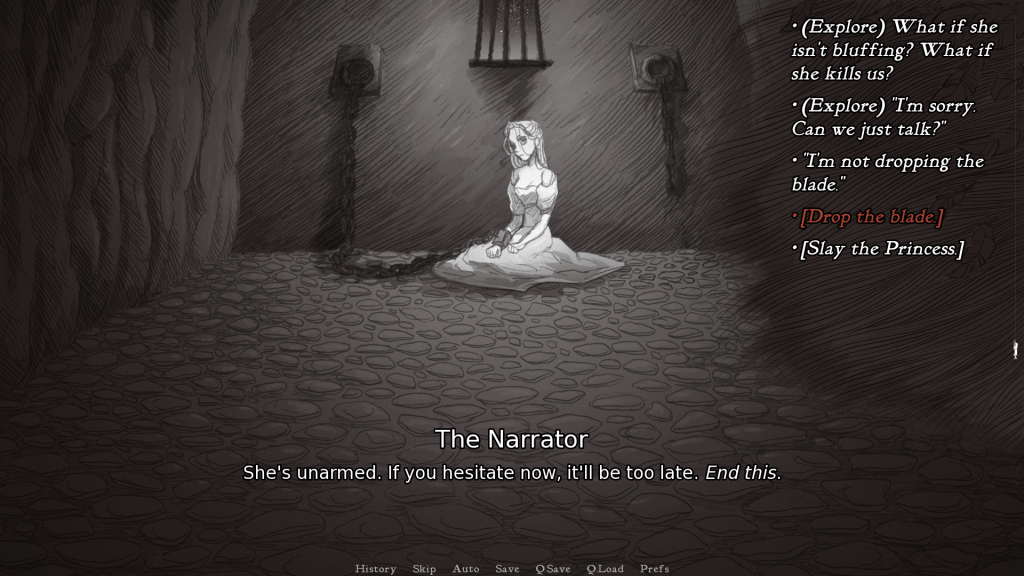
2. Examine the Chains

3. Slay the Princess
You’ll try to escape the basement to find a key for her chains. However, you’ll be trapped. Pick the slay option twice to proceed further.
4. Give Up
Finally, pick this option chapter to finish the first chapter.
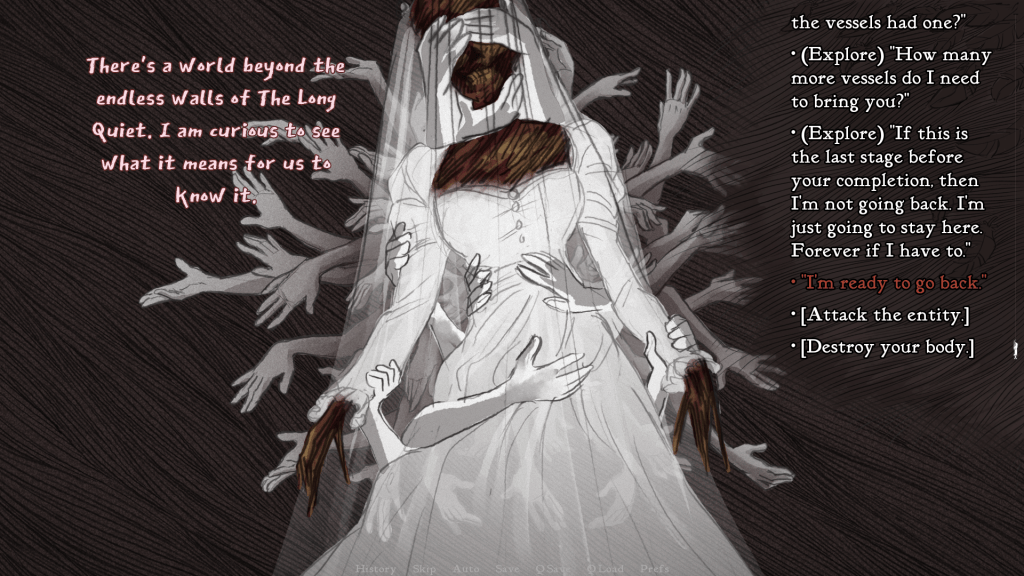
Chapter 2 – The Tower

1. Pledge
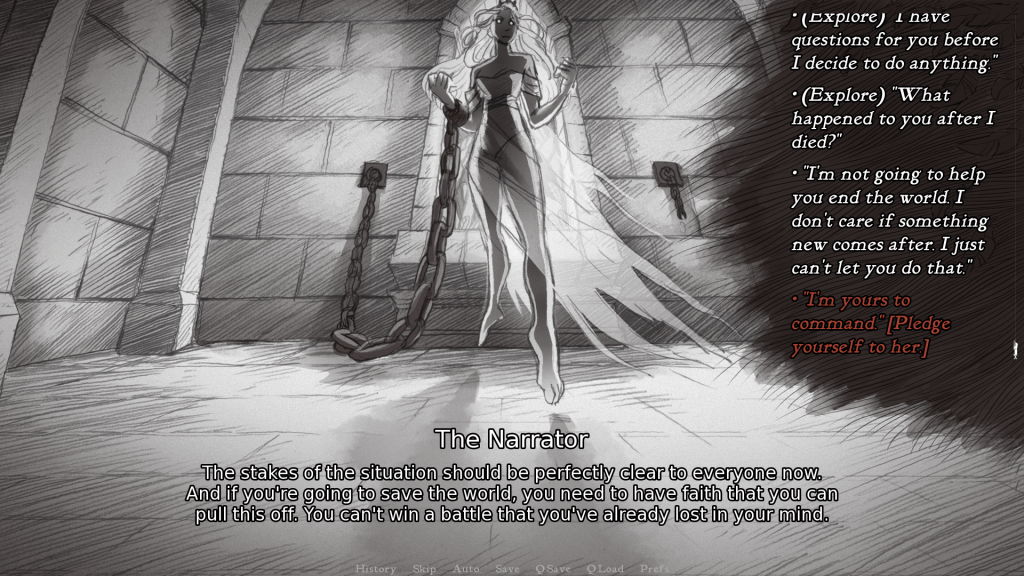
Repeat the steps from the previous chapter and listen to her commands until you come across the pledge option.
2. Break her Chains

3. Take her hand

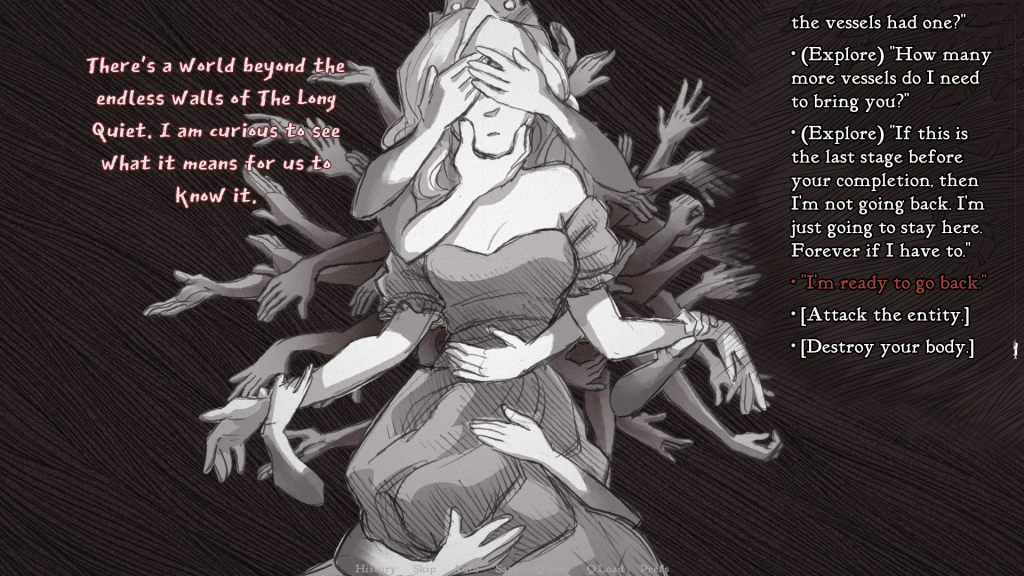
Once you take her hand, she will be pulled into the Long Quiet. Simply follow the prompts and pick the “I am ready to go back” option to return to the beginning and start another loop.

Beast Vessel
Chapter 1
Head towards the cabin and enter the basement without picking up the blade. After confronting the princess examine the chains. Return upstairs to retrieve the blade.
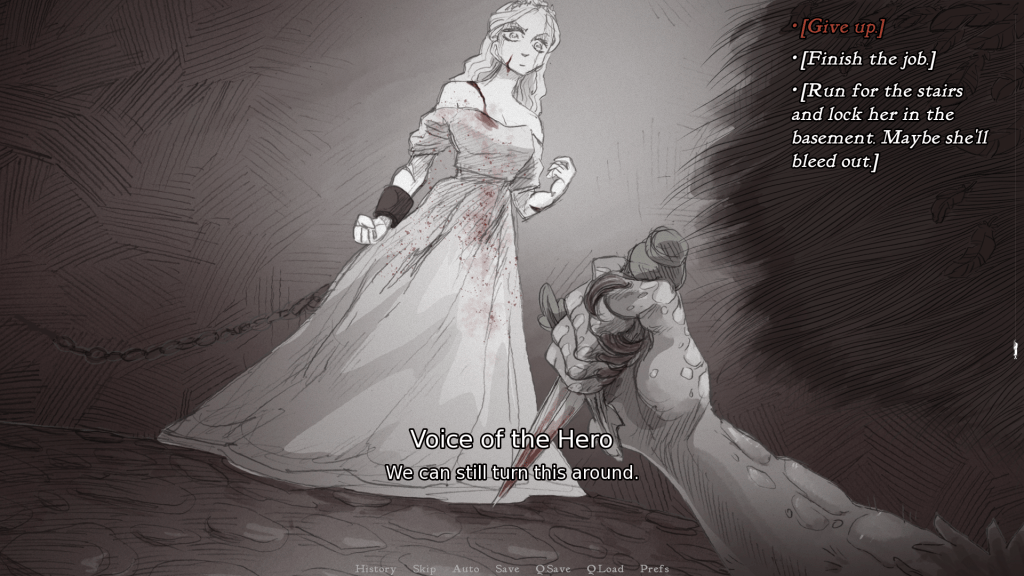
After the blade drops, use it to slay the princess twice.
In the next dialogue option, choose give up.

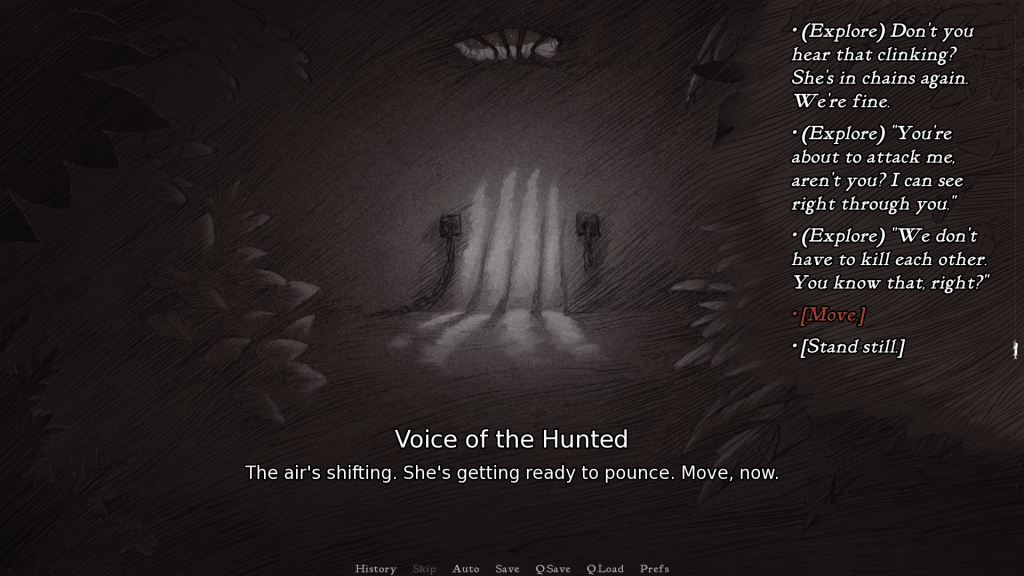
Chapter 2 – The Beast

Enter the cabin and take the blade before heading down to the basement. Once the option comes up, select Move. Keep going through the new set of options, but whatever you choose, do not run for the stairs or give up.
From here on, you can unlock two more vessels: The Den and The Wild. We’ll discuss more about them in a later section. For now, choose the Play Dead option from the next set of options.

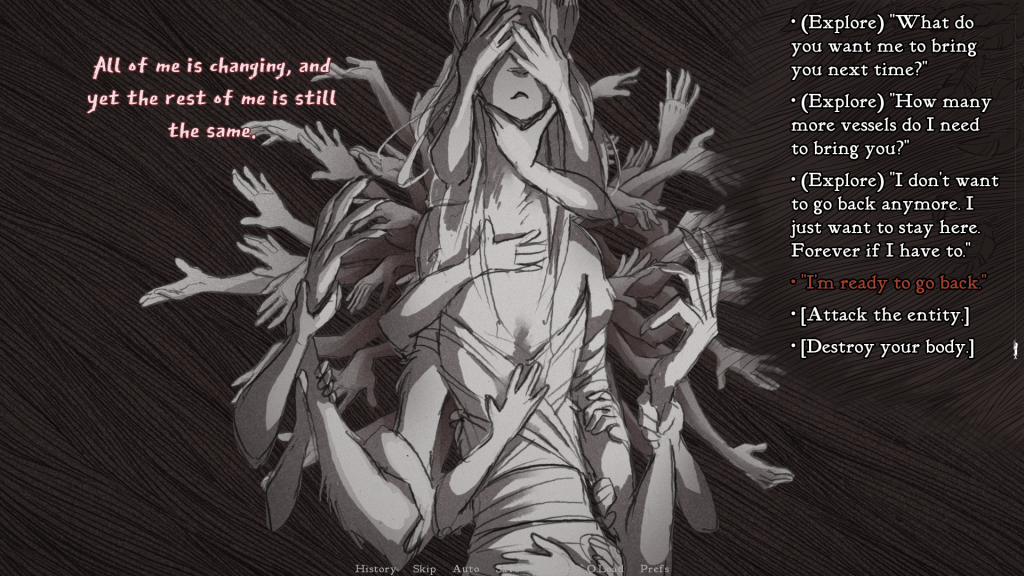
Once you’re inside the beast, select any of the choices other than slay yourself and dig with a steel claw. Repeat until the princess is taken by Long Quiet. Once you’re done exploring all the choices, select I’m ready to go back and return to the beginning.
Chapter 3 – The Wild
The Wild is an alternate ending that stems from the Beast vessel path. Moreover, you’ll encounter two different vessels depending on the choices you make along this path. To enter this path, choose play dead > 2xdig with claw > slay the princess.
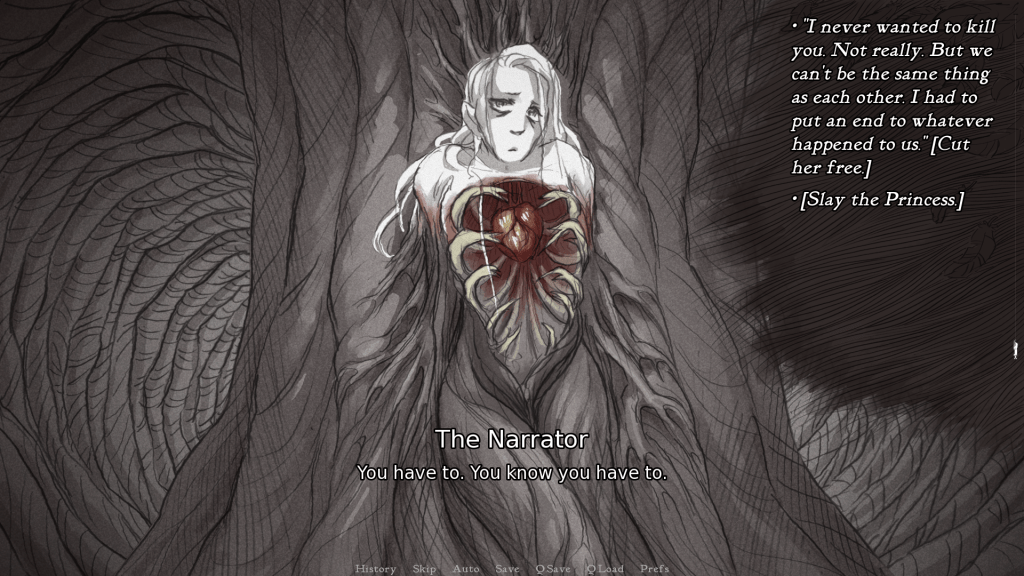
You’ll come across two choices: gaze at the terror in your heart and bury it now before it’s too late, and each of these choices has a different ending.

1. Gaze at the terror in your heart – Picking this option places you in front of the cabin, and the entire cabin proceeds to swallow you whole. You’ll see the princess stuck to the wall, her ribs splayed, her heart exposed.
Picking either of the options takes you to the Long Quiet, from where you can return to the beginning once again.

2. Bury it now before it’s too late – After choosing this option, pick, turn inward, and find your freedom. Keep picking the next set of options until you enter the Long Quiet. Approach the mirror and meet up with the princess before returning to the beginning.

Chapter 3 – The Den (Alternate Vessel)
Repeat all the steps from the Beast Vessel ending until you come across the survive, play dead, and stand still choices. Pick survive and keep selecting any choice except run for the stairs or give up, until you come across the following options.

Choose stay alive followed by again to begin the next chapter.

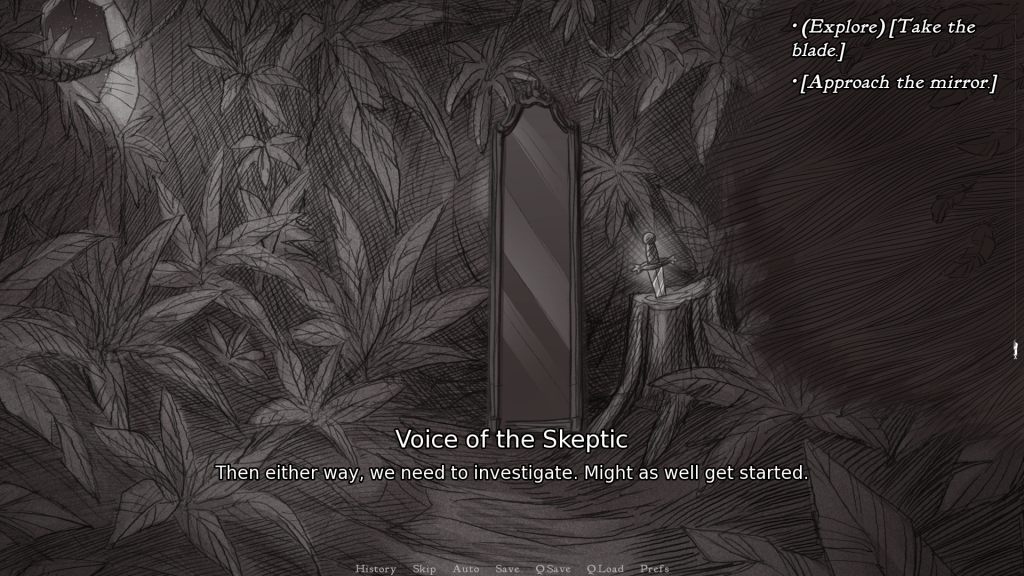
The scenery will be different from what you’ve encountered before. Choose to enter the cabin.

You can choose to take the blade or approach the mirror directly, but in the end, it won’t make a difference.
Once you’ve explored all other options, choose step into the shadow to lure her out and enter the Long Quiet.

Finally, select I’m ready to go back to return to the beginning.

Damsel Vessel
Chapter 1
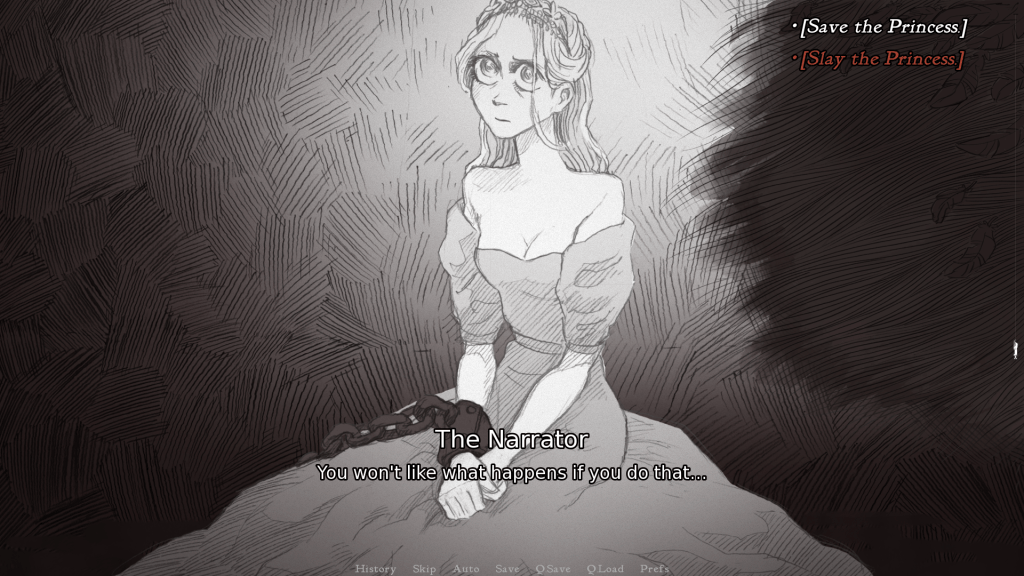
Enter the cabin, and do not pick up the blade. Once you meet the princess, pick “Examine the chains”.
Next, choose “Save the princess”.

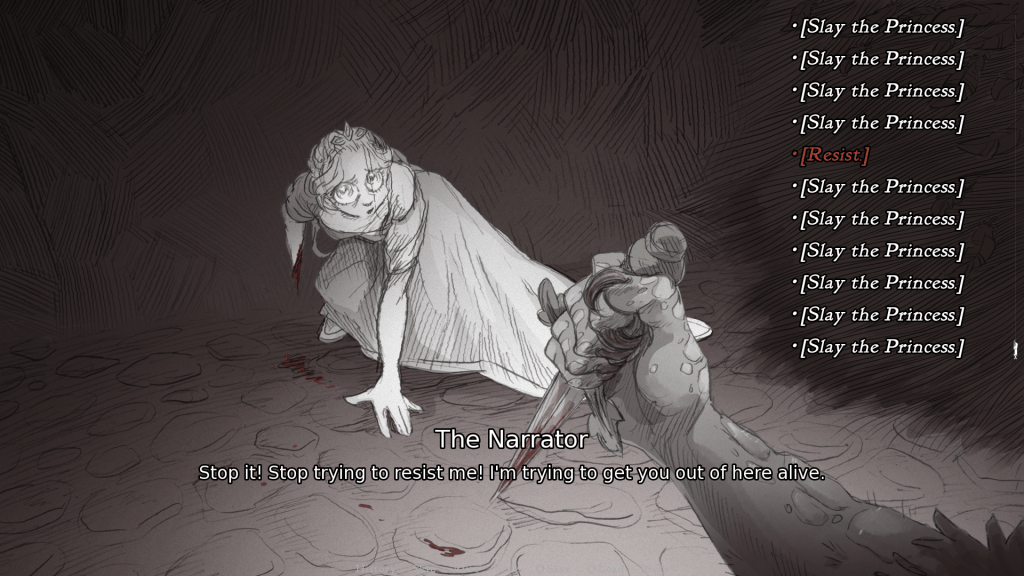
When you face a list of similar choices, all pertaining to slaying the princes, scroll down and select “warn her”.

Now pick “resist” to finally end the first chapter.
Chapter 2 – The Damsel

There are two possible endings, depending on your choices. One leads to a third chapter, while the other teleports you to the Long Quiet. We’ll be exploring the third chapter in the next section.
After entering the cabin, it doesn’t matter if you take the dagger or not. Just make sure to rescue the princess.
Choose “rescue the princess”

From here on out, as long as you don’t slay the princess, you’ll end up in the Long Quiet.
1. Selecting “what do you want to do” forces both you and the princess into a loop where each one of you goes back and forth asking the same question regarding how to make each other happy until you end up in the Long Quiet.

2. Selecting “we leave…we want to do next” triggers a different set of events that also lands you in the Long Quiet with an altered version of the princess.
Chapter 3 – The Grey
To reach chapter 3, simply pick up the dagger and slay the princess whenever the option comes up in the previous chapter.
Enter the cabin and approach the mirror. Now wipe it and enter the basement.

Once you reach the bottom, you’ll notice the princess’s skeleton. lying shackled to the walls. After inspecting the scene, the ghost of the princess will proceed to burn you alive inside the basement.

It doesn’t matter which option you pick, as you’ll eventually die and end up in the Long Quiet.
Return to the beginning once all of your questions are answered.
Prisoner Vessel
Chapter 1
Enter the cabin, pick up the blade, and head into the basement. Do not slay the princess. First, drop the blade and keep talking to it until you’ve exhausted all the choices.
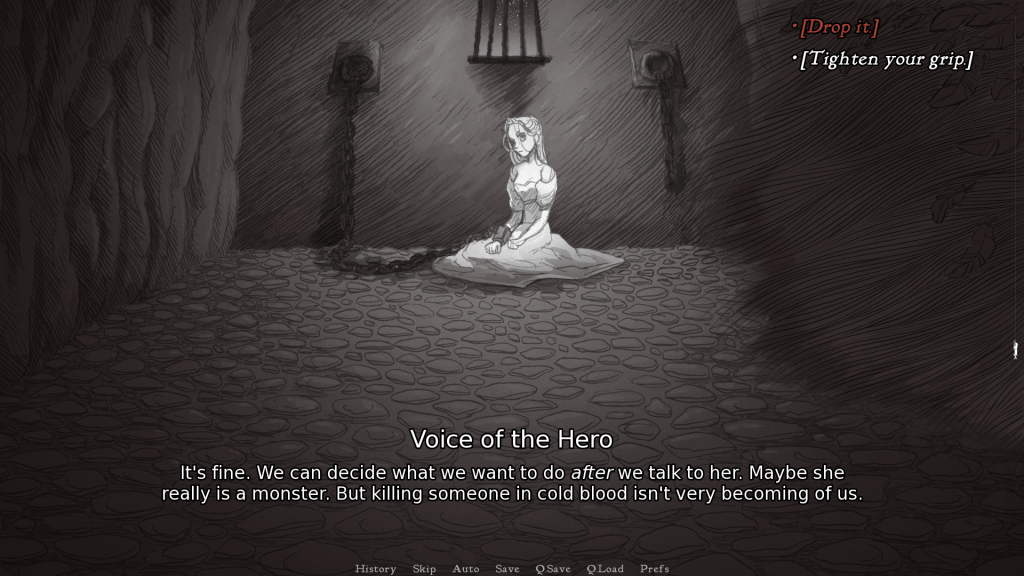
Once you have nothing more to talk about, choose to examine the chains.

Now pick the following: Warn her > Resist.
Chapter 2 – Prisoner

Take the blade (you have to) and enter the basement. After you see the princess, choose to “sit with her”.

Now select “Sit where you’re told to sit”.

Keep exploring the dialogues until you see the option to give her your blade.

After she decapitates herself, choose to “take the princess with you.” you’ll eventually end up in the Long Quiet.
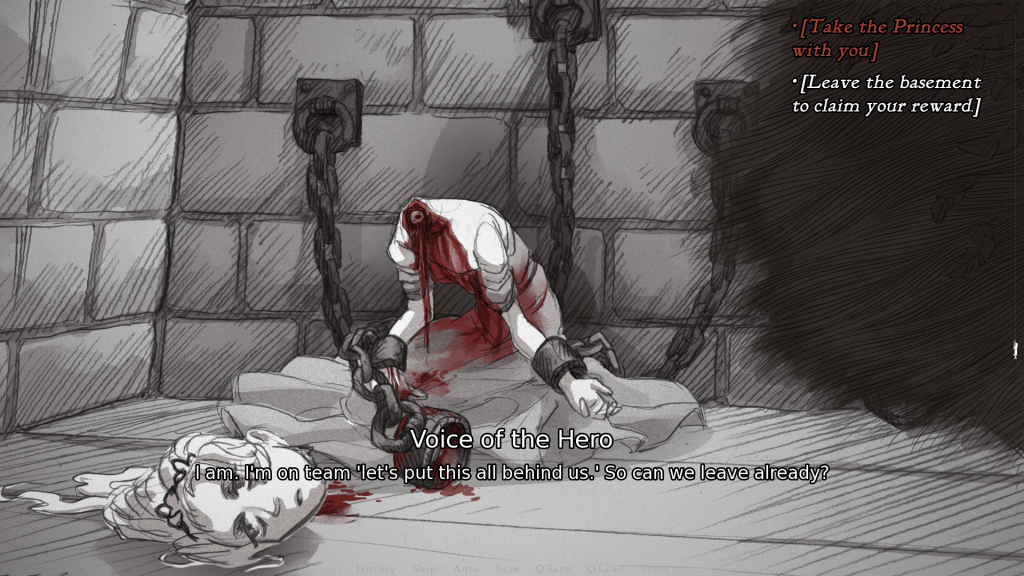
Once in the Long Quiet, talk with the ethereal being to return to the beginning.

Witch Vessel
Chapter 1
Create a save file before heading towards the cabin. You’ll need it for the next vessel. Enter the cabin and do not pick up the blade before heading down to the basement. After that, examine the chains, and choose to “slay the princess” twice. Finally, select “finish the job” to begin the second chapter.

Chapter 2 – The Witch
Enter the cabin, pick up the blade, and enter the basement. Don’t act in a hostile manner and choose options such as “Don’t worry the blade isn’t for you”.

Now choose “agree to leave with the princess”.
Finally, select “step on the stairs” but whatever you do, do not give her the blade. You’ll eventually enter the Long Quiet.

Once you’re ready, return to the first chapter.

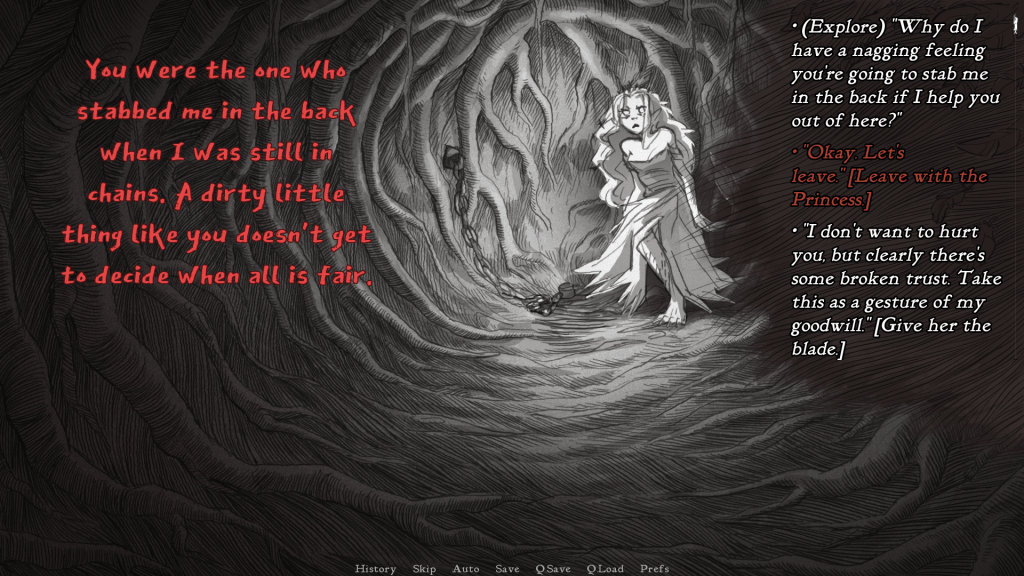
Thorn Vessel
Chapter 1
Make every choice that leads to the Witch ending.
Chapter 2
Choose to give her the blade.

Pick the same option again.

Now select any of the following options to begin chapter 3.

Chapter 3 – The Thorn

Head towards the cabin, approach the mirror and enter the basement. Once you see the princess, select the “turn and leave” option.
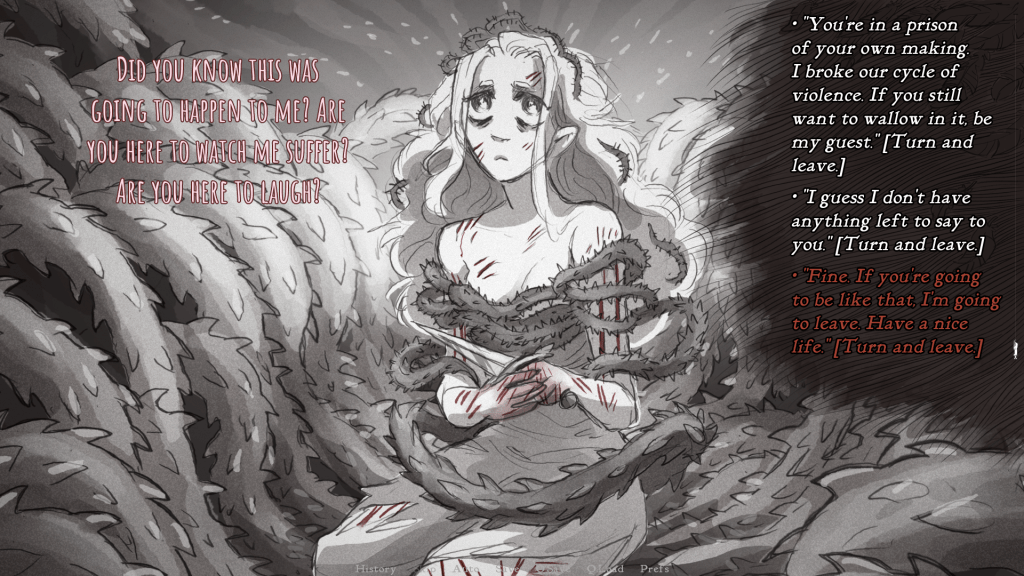
Next, choose to “rush for the blade”.
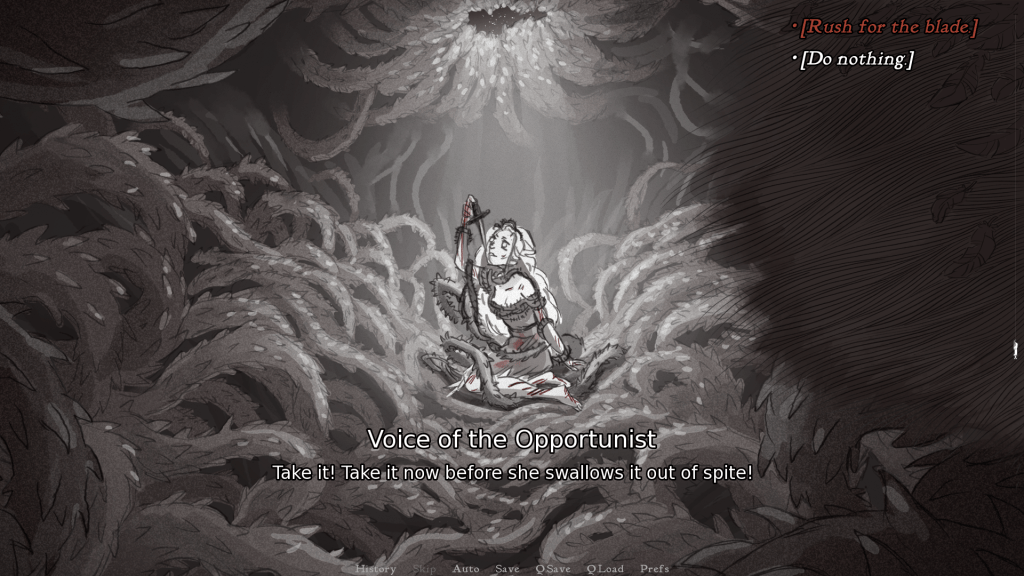
After the dialogue, both of you’ll enter the Long Quiet. Return to the beginning to start anew.

Moment of Clarity Vessel
Chapter 1
Follow these steps to reach Chapter 2: Don’t take the blade > Enter the basement > Return to take the blade> Slay the Princess > Run for the stairs and lock her in the basement.
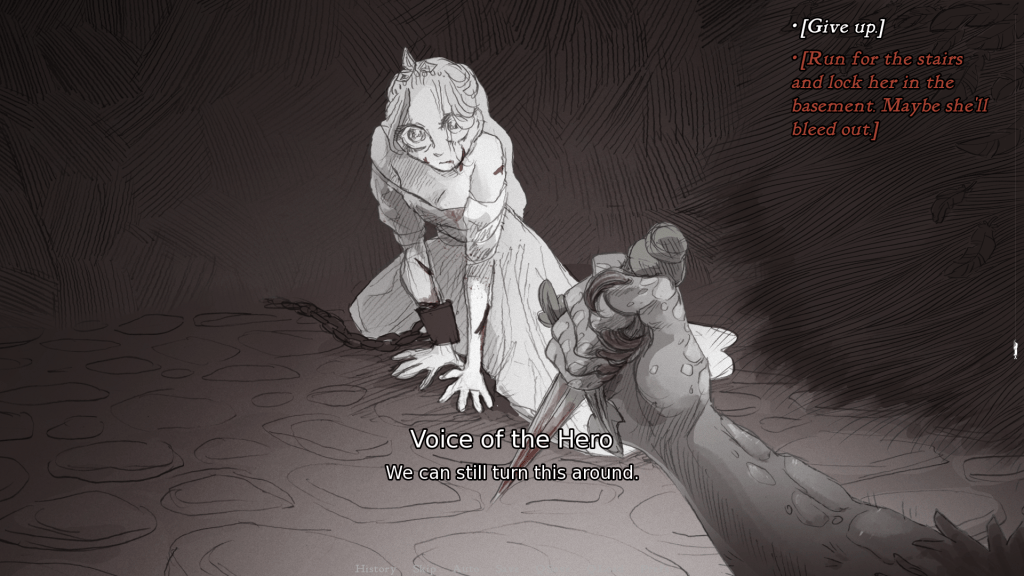
Choose any of the following options once you’re back upstairs to begin Chapter 2.

Chapter 2 – The Nightmare
You can take two paths in Chapter 2. One leads to Chapter 3, and the other leads to the Long Quiet, which we’ll be discussing first.
Once you reach the cabin, don’t take the blade. Simply enter the basement.

Keep picking random choices (doesn’t matter) until you reach the next screen.

Picking “run” or “remain with your nightmare” will take you to Chapter 3. If you pick “leave together” then you’ll be transported to the Long Quiet, after escaping the basement.
Go back and start again, or if you picked the other option, proceed to Chapter 3.
Chapter 3 – The Moment of Clarity

1. Head towards the cabin and approach the mirror.

2. Take the blade.

3. Set the Princess free.

After you reach the Long quiet, return to the beginning.

Wraith Vessel
Chapter 1
Repeat all the steps until you reach Chapter 2 – The Nightmare.
Chapter 2 – The Nightmare
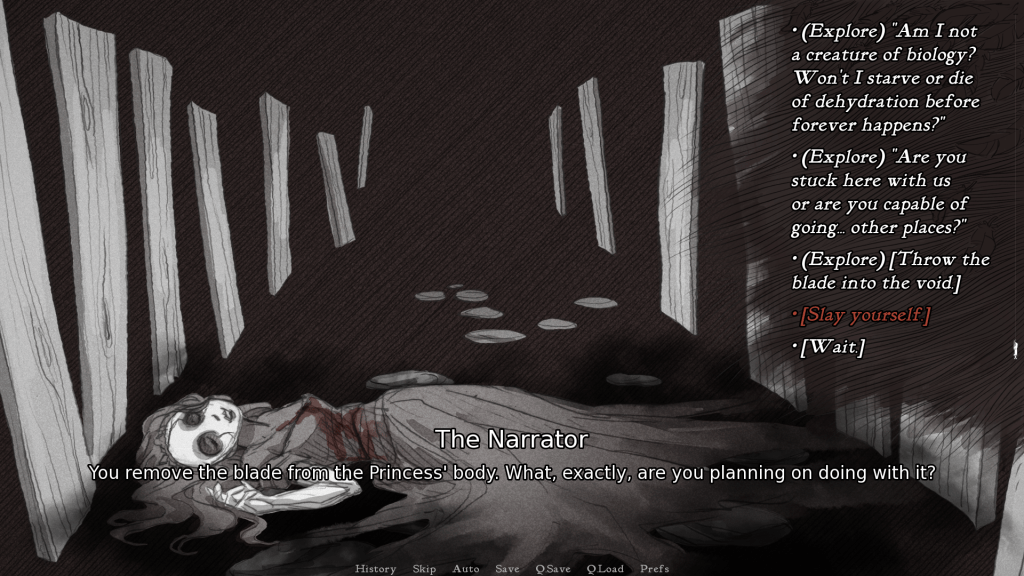
Enter the basement with the blade in hand and slay the princess.

Next, choose “Take the blade from her body”.

From the next set of options, choose “slay yourself” to begin Chapter 3.
Chapter 3 – The Wraith

Proceed to the cabin and approach the mirror.

Pick any of the options (doesn’t matter) until you reach the Long Quiet.
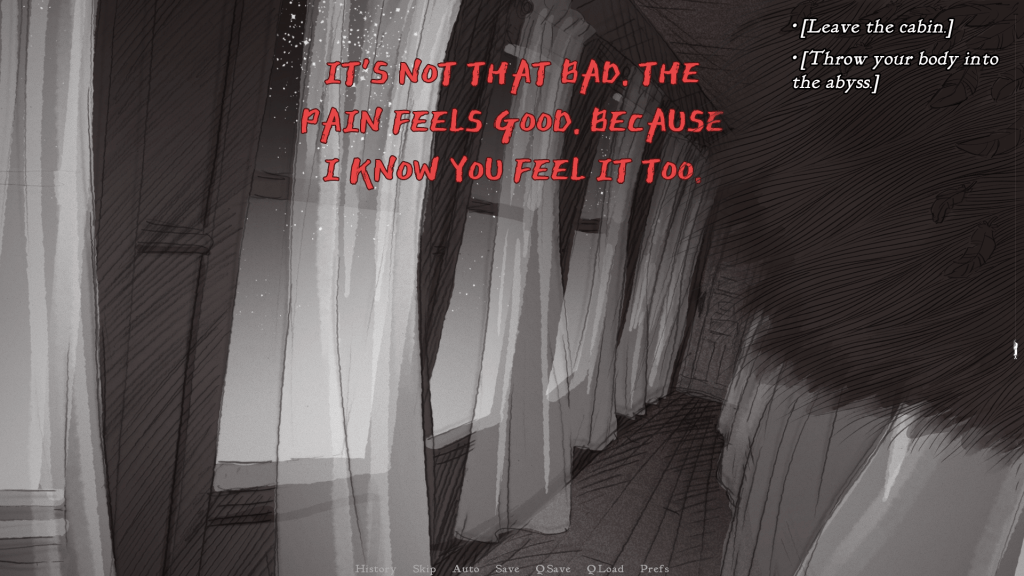
Once you’re there, return to the first chapter.
Stranger Vessel
Chapter 1
No matter what you do, do not visit the cabin. Select any and all options that lead you away from it. Question the narrator, harass him, and do everything you can to steer clear of the cabin.
Chapter 2 – The Stranger
After starting Chapter 2, pick whatever options you want. It won’t matter, and you’ll eventually end up with the same ending and reach the Long Quiet.
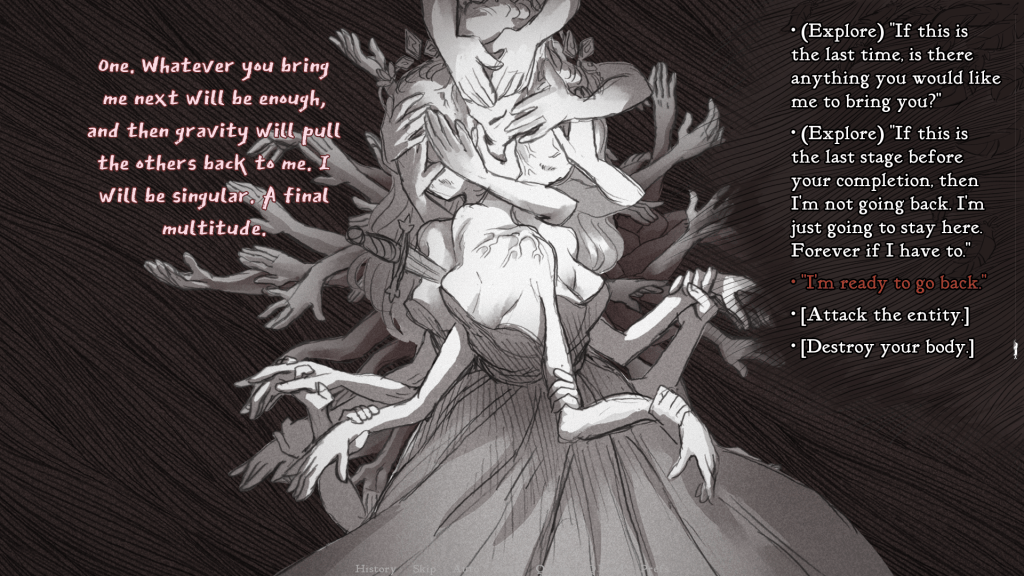
Once you’re there, return to the first chapter.
The Spectre
Chapter 1
Slay the princess. Don’t digress; don’t select any other options.
Reach the cabin and take the blade. After you’ve entered the basement, choose “Steel your nerves”.

Slay.

Next, choose “Of course it is. She’s dead.” and head back upstairs and try to leave.

You won’t be able to leave the cabin. Keep selecting options until you get the “Good Ending”.

Keep selecting random options until you return to the basement, and use the blade to end your life and start Chapter 2.
Chapter 2 – The Spectre
Once you enter the basement, keep talking to her until you have the option to “let her possess you”. Any options you pick after that point will result in you and the princess landing in the Long Quiet.
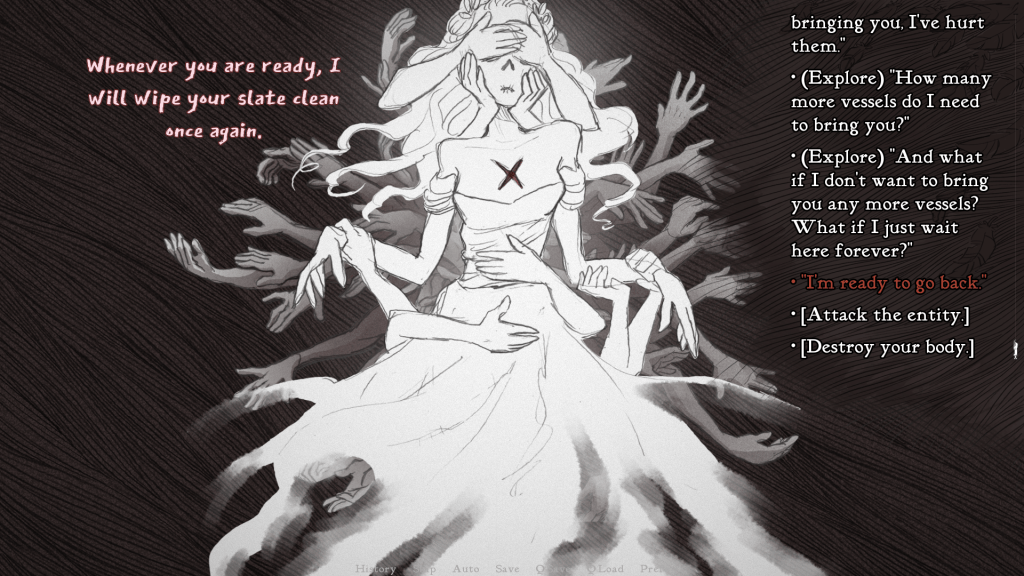
Return to the first chapter once you’re done.
All Four Final Endings
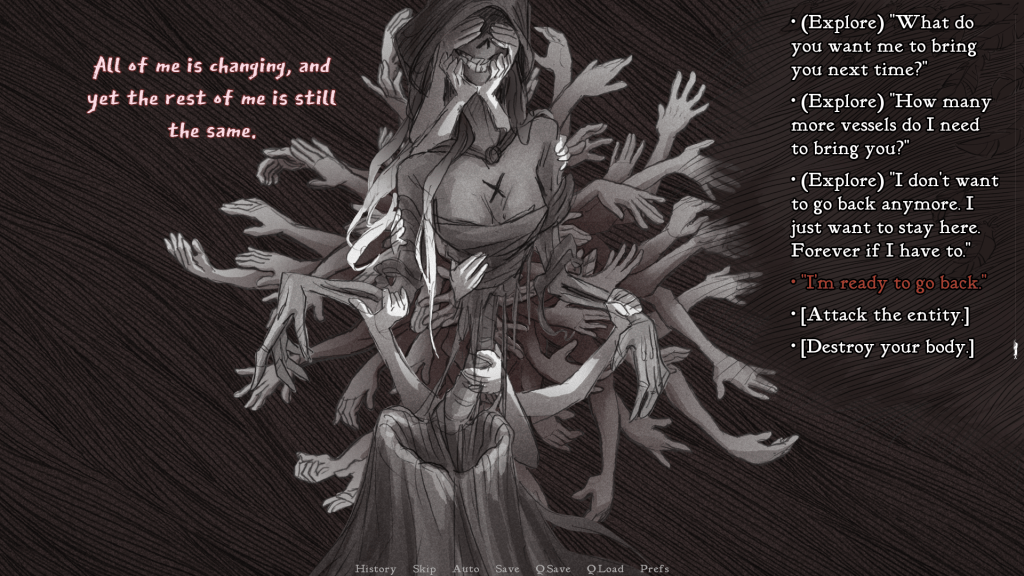
There are a total of four endings to this game. In order to achieve them, you’ll have to provide the Shifting Mound with four different vessels of the princess. It can be any one of the above.
After you supply the fourth vessel and enter the Long Quiet, you’ll be unable to return to the first chapter. Instead, you’ll come across the following screen.

You can break the mirror gradually by exploring the options, or you can destroy it in one go. Once that’s done, you’ll face the Shifting Mound. The decision you make here affects which final ending you’ll receive in the end.

1. Escape as Gods
Keep going through the options until you see the choice to “free yourself” or “stop the fight early and surrender”. Next, take her hand and escape into the infinite.

2. Slay the Princess Ending
Keep picking the other options that don’t lead to peace. You’ll come across all the vessels you initially supplied to the Shifting Mounds one by one. Relive the experiences until you come to this screen.

Picking any of the options will lead you to the cabin. Enter the cabin, take the blade, and slay the princess. Leave the cabin once you’re done and set yourself free.

Reset Everything
Repeat the steps from the previous ending, but don’t slay the princess. Sit beside her and make her stab you by selecting “agree to her plan”. This will reset the game and land you in the first chapter.

Leave Together
Repeat the same steps as before, but do not pick the blade. Enter the basement and sit with the princess before leaving the cabin together.

All Screenshots, Courtesy Black Tabby Games


Isn’t there an alternate ending for tower? it’s missing from this article.