Whisper of the House: Alchemy Lab Walkthrough
Many secrets are waiting to be unravelled in Whisper of the House, and the Alchemy Lab is one of them. You will unlock it right after setting up Cheryl’s bakery. Once you gain access to the lab, you will not only craft magical items but also uncover a hidden subspace beyond the silver looking glass. Here’s a full guide to the Bakery and Alchemy Lab:
Quick Access
Set Up Cheryl’s Bakery
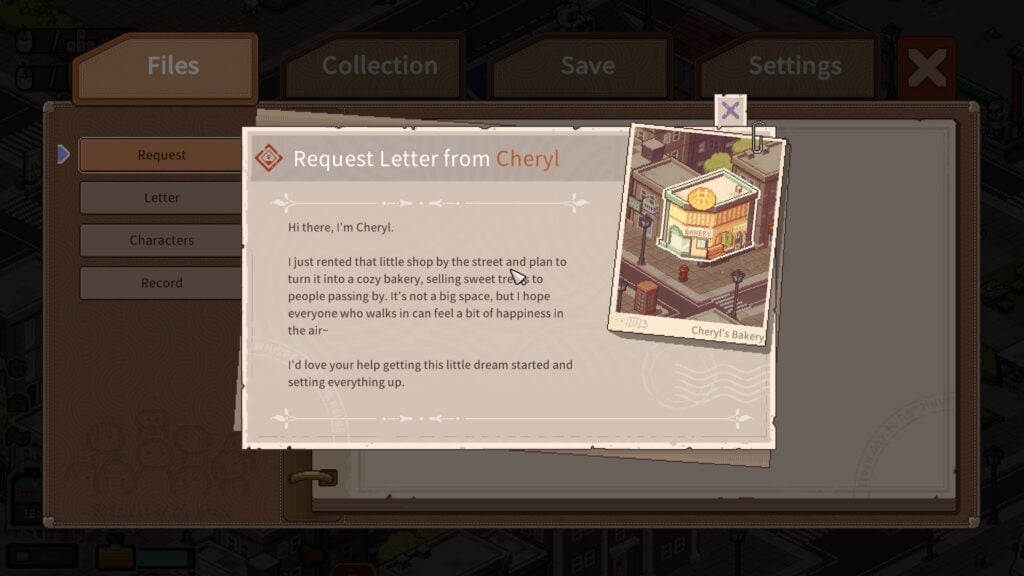
After helping Luna move into her new house and discovering a secret room in the bedroom, you will be up for a new task. Cheryl wants to set up her bakery and needs your help. Move closer to the mailbox and press E to read Cheryl’s letter.
Move to her bakery to start setting it up. Arrange all items and furniture in the bakery room, bedroom and bathroom.

Break the Curse of the Skull, Crystal Ball and the Talking Mirror
In the bedroom, right-click on these two items multiple times to break their curse:
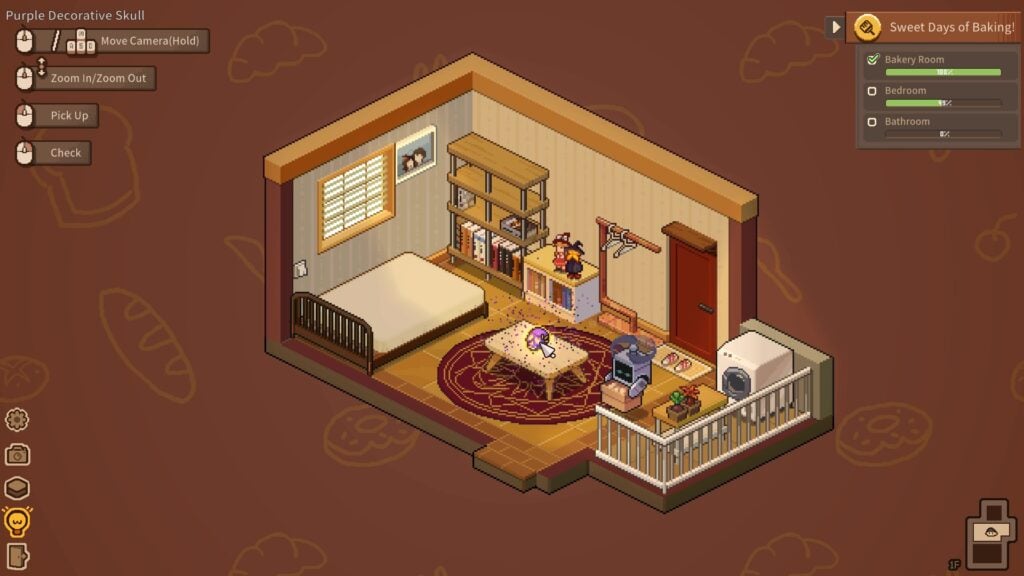
- Purple Decorative Skull.
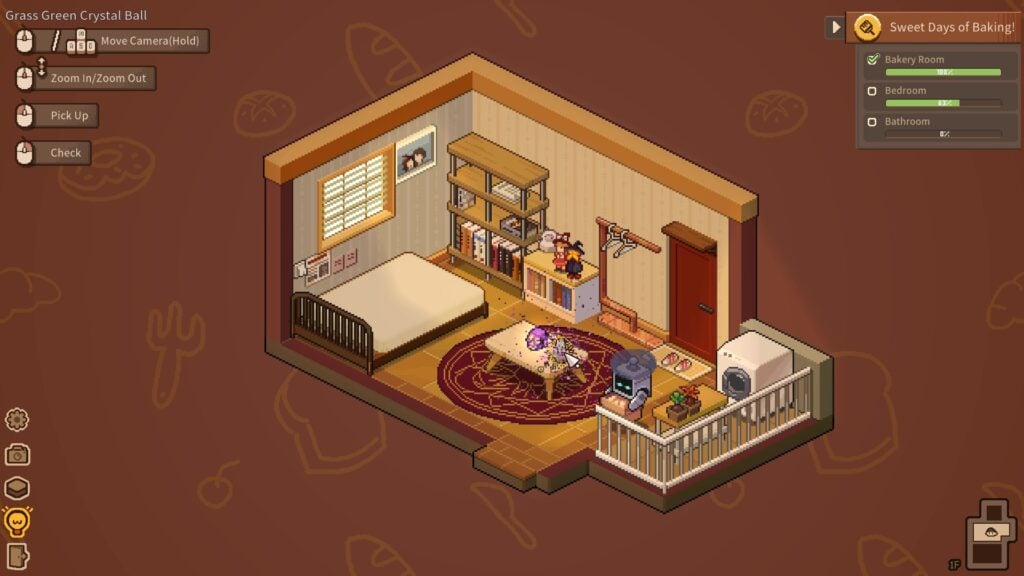
- Grass Green Crystal Ball.
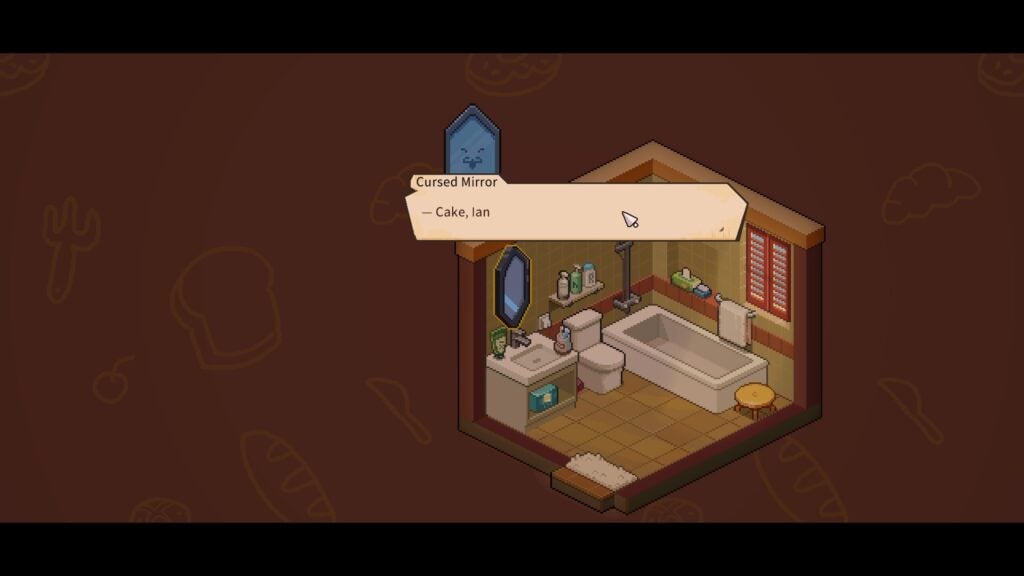
In the kitchen, right-click on the mirror repeatedly until it is completely cleansed of the curse. When the curse has been removed, right-click on it again. It will tell you that Cheryl loves Ian and cake.
Sleep Until the Next Day to Unlock Cheryl’s Call
Once you have finished setting up Cheryl’s bakery, return home. You will need to wait until the next day to receive a call from her. Here’s how to sleep in Whisper of the House to move time forward:
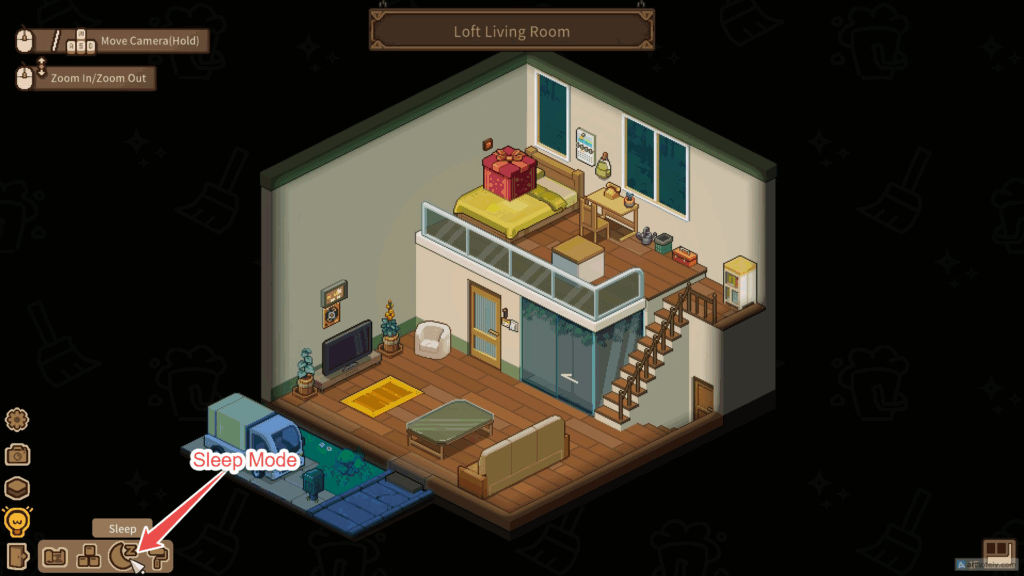
In your house, click on the crescent moon/Z symbol on the lower-left corner of the screen to activate sleep mode. Sleeping is only possible during nighttime.
It will be daytime when this message flashes on the screen – sun relocation complete!
Receive a Call from Cheryl
Step out of your house and check the mailbox. After a few minutes, you will receive a call from Cheryl. She will invite you to the alchemy workshop on the west side of the town to talk in person.

The location of the alchemy lab will be displayed on the screen and updated on the map.
You can make your way to the Alchemy Lab and talk to Cheryl. She will tell you she misses her friend, Ian, a brilliant alchemist who once worked in this very workshop. Ian is missing as he never came out of his workshop again. Cheryl is sealing the lab and wants you to clean it one last time before she bids goodbye to this place.

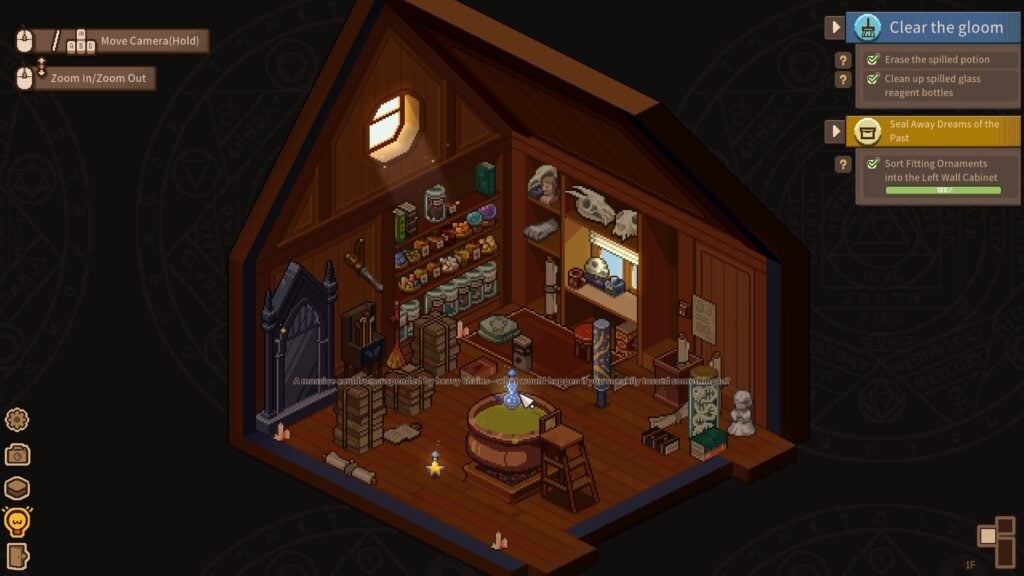
Complete All Tasks in the Alchemy Lab
Finish the following tasks in the Kitchen, Workshop, and the Herb’s Lab. All tasks are displayed on the upper-right corner of the screen:
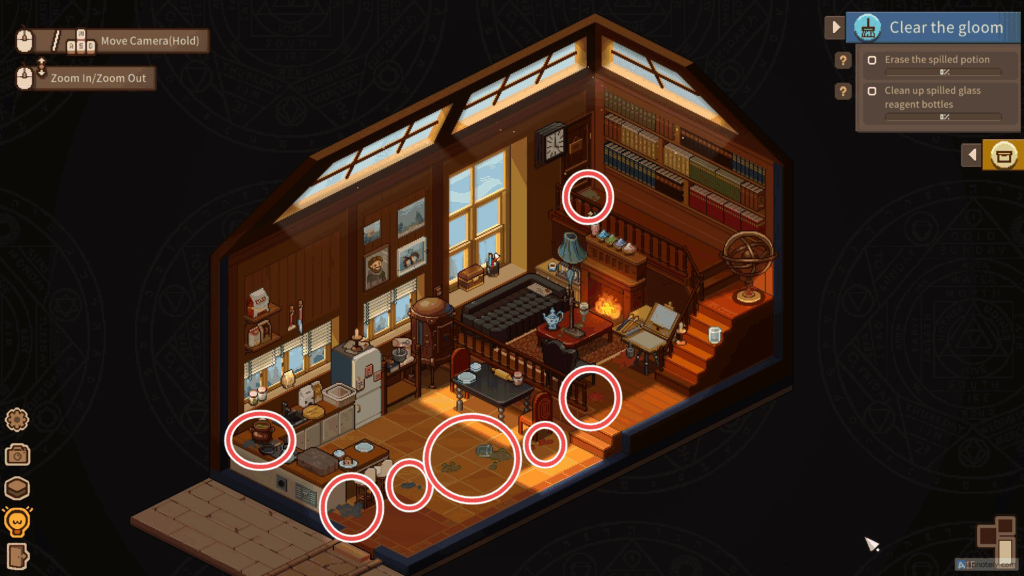
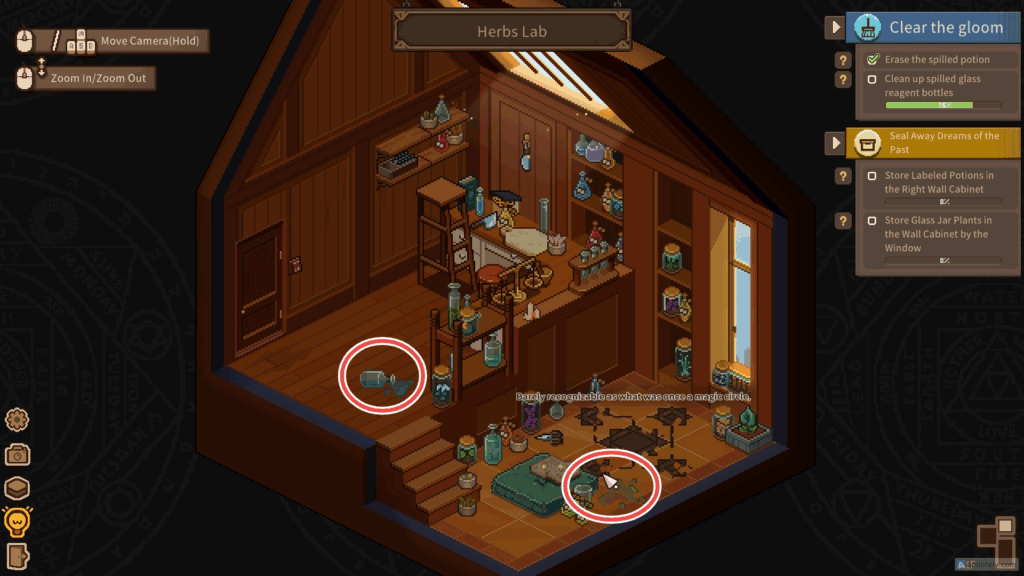
1. Kitchen: Erase the spilled potion| Clean up spilled glass reagent bottles in each of the rooms:
2. Kitchen: Place books of suitable size on the bookshelf on the right side of the room. It’s actually a puzzle, so make sure you place the books of the right size. Below is a screenshot showing all the hidden book locations in the kitchen:

3. Workshop: Sort fitting ornaments into the left wall cabinet. Click on the “?” beside the quest to highlight all ornaments that need to be placed on the wall cabinet.
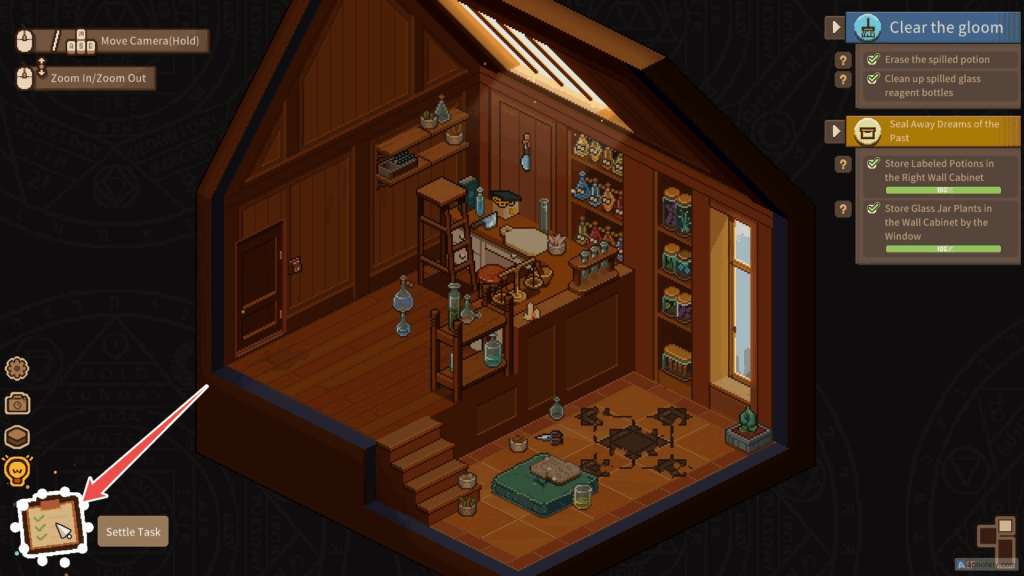
4. Herb’s Lab: Store labeled potions in the right wall cabinet. Store glass jar plants in the wall cabinet by the window. Click on the “?” beside each quest to find labeled potions and glass jar plants in the herb’s lab.
All Alchemy Recipes
After finishing all quests, head to the workshop and right-click on the textured leather notebook lying on the floor. Inside, you will discover a torn page holding a single fragment, with three still missing.

You will find all three missing page fragments in the workshop, at these spots:
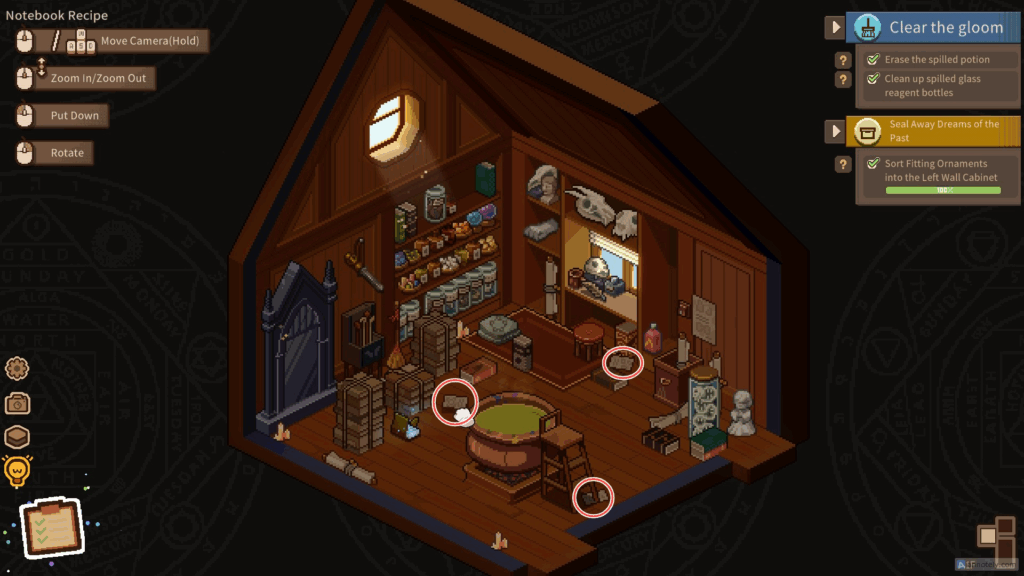
Click on a fragment lying on the floor, and the notebook will magically open. Put all three missing pieces in the notebook to restore the torn page.
The page reveals three crafting recipes:
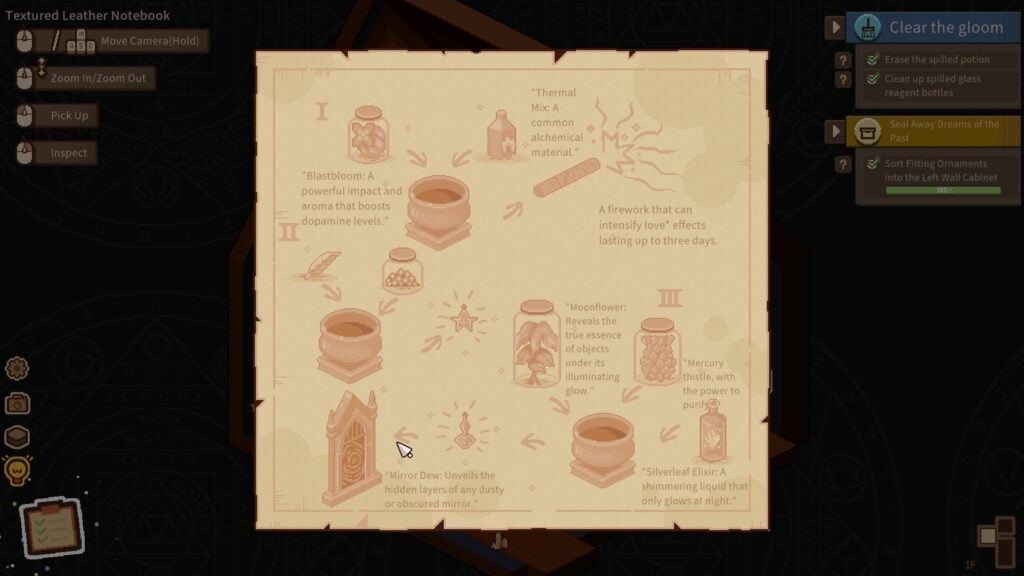
- Firework
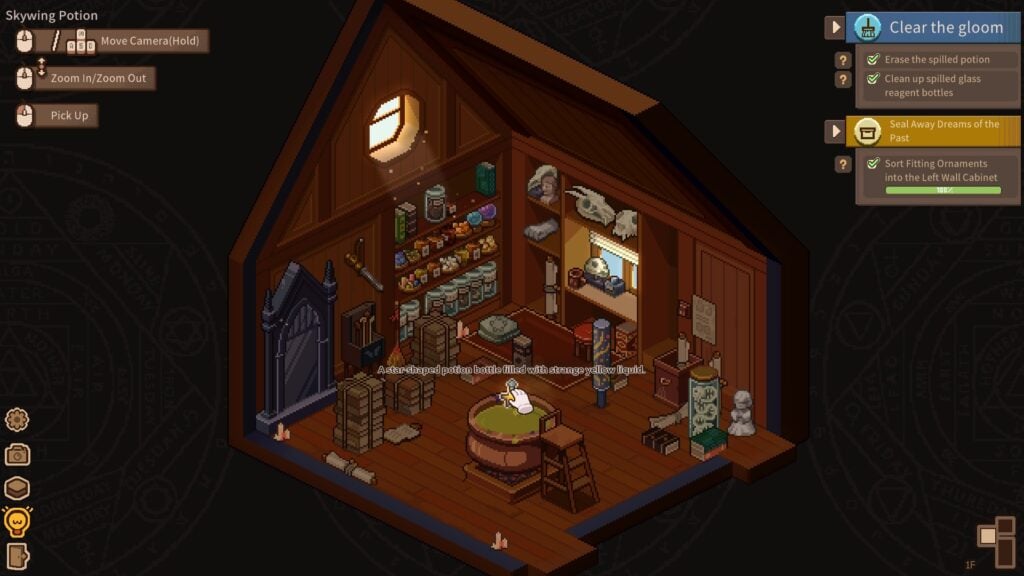
- Skywing Potion: A star-shaped potion bottle filled with strange liquid.
- Mirror Dew
Time to learn how to craft them:
Note: Toss two to more items into the cauldron to craft a new item.
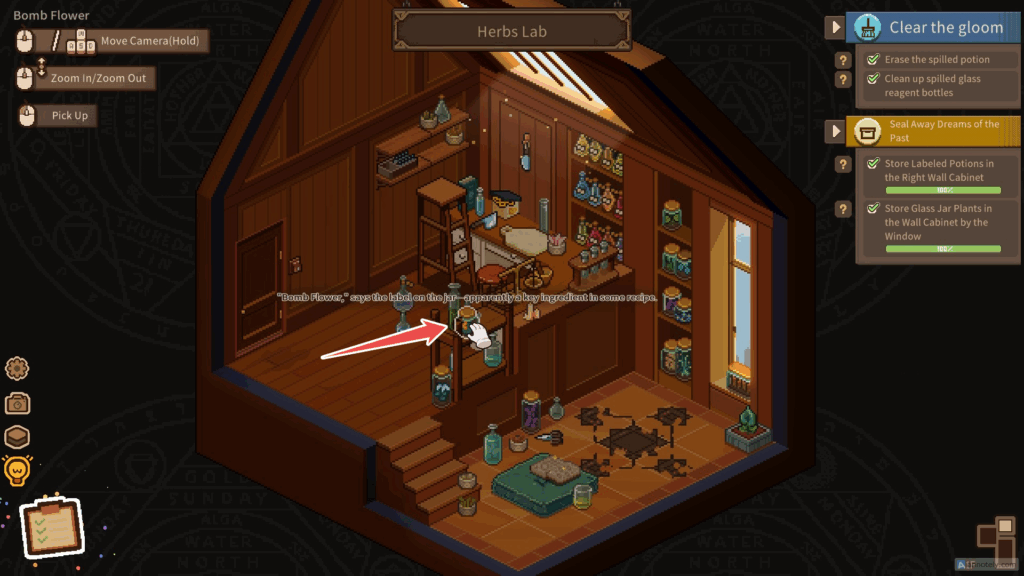
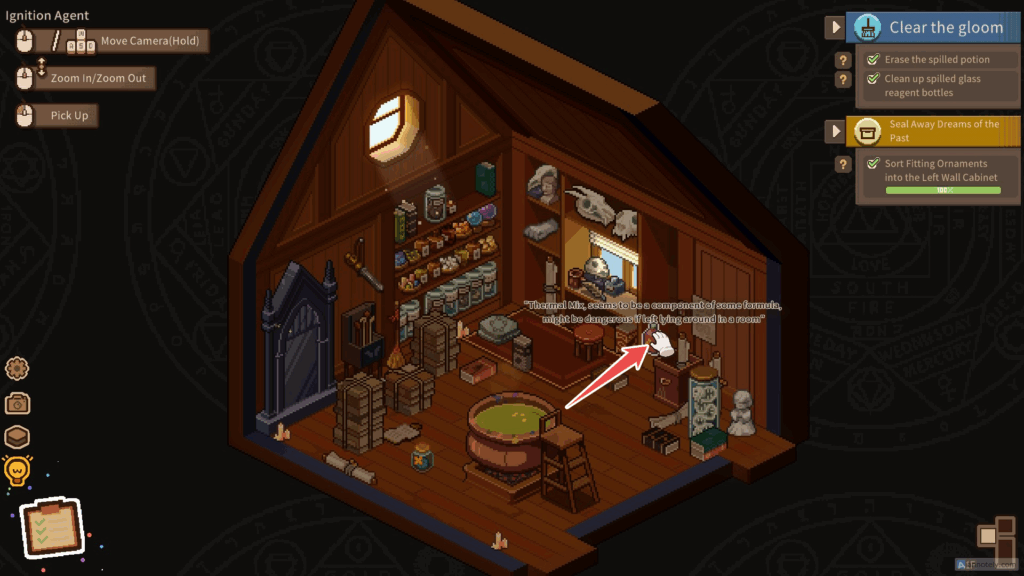
1. Firework: Ignition Agent + Bomb Flower
Put these two items into the cauldron to create a large firecracker.
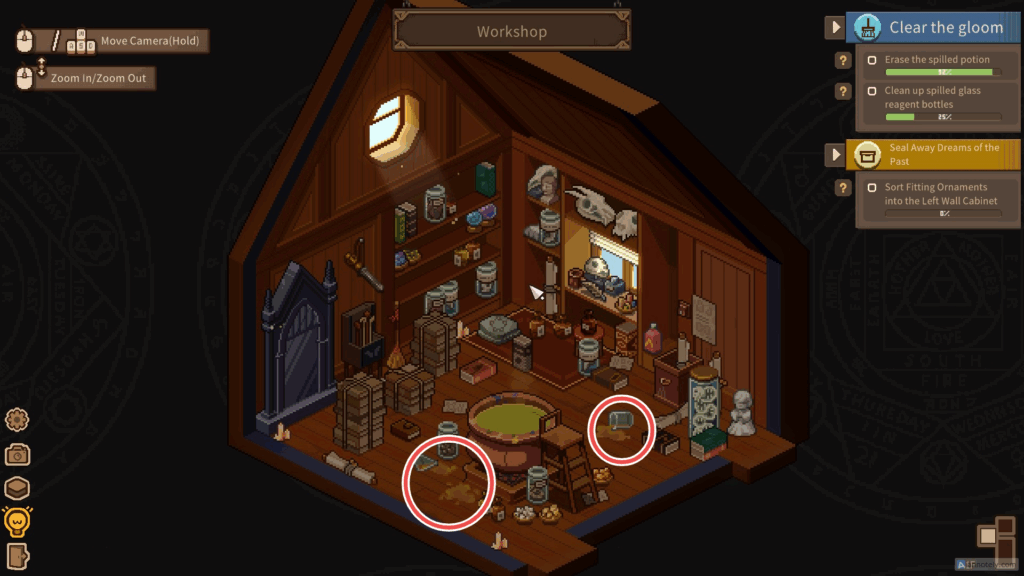
You will find the bomb flower in a bottle, on a table in the herb’s lab, and the ignition agent on a shelf in the workshop (see screenshot):
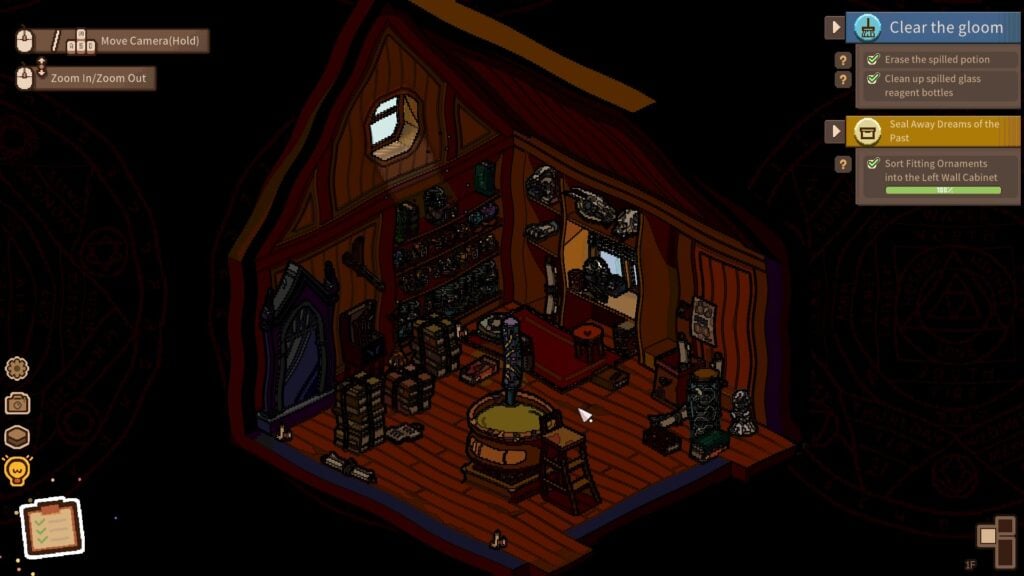
Right-click on the large firecracker to view a distorted Minecraft-like version of your surroundings for a few seconds.
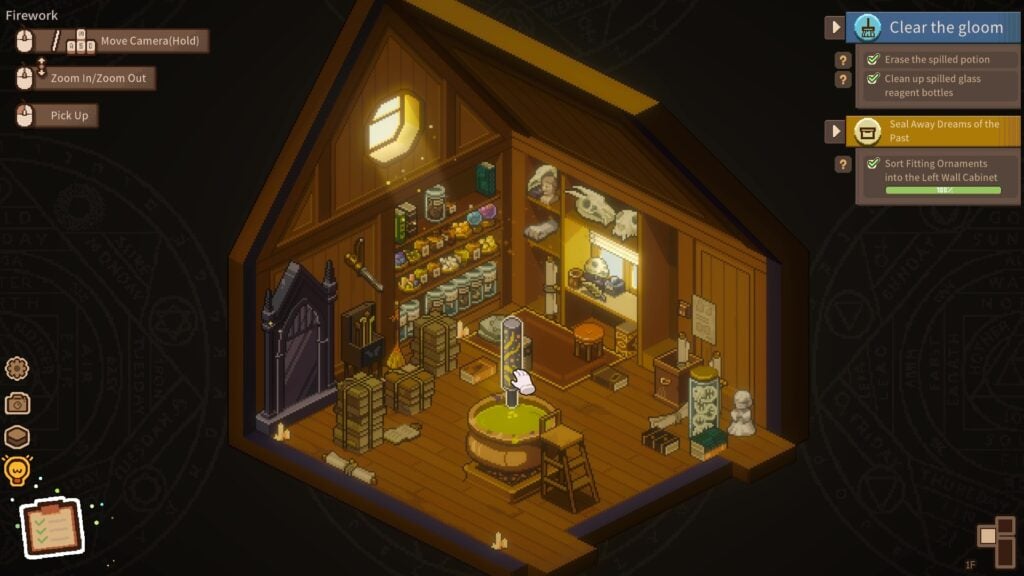
Next, right-click on it multiple times to break its curse. After breaking the curse, right-click on it once again to watch beautiful fireworks fill the room.
2. Skywing Potion: Canned Flowers + Feather Quill A
Canned flowers can be found by the window in the Herb’s Lab. If you can’t find it there, then search the wall cabinet by the window in the same room. You might have moved it to the wall cabinet to complete one of the lab quests.
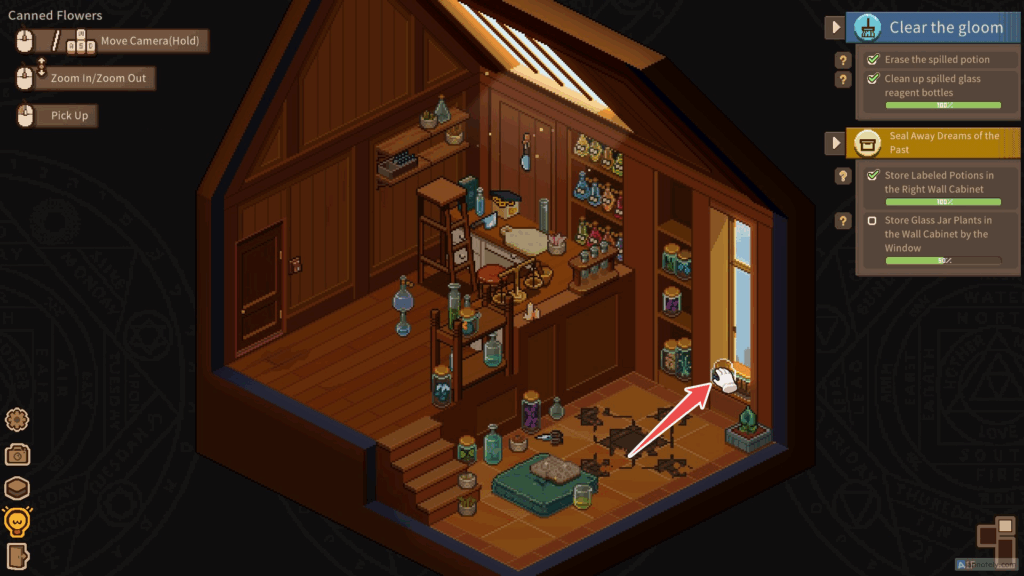

Pick the Feather Quill A from the windowsill in the workshop, the room that holds the cauldron.
You can’t right-click on the Skywing Potion. It may be used for some other purpose in future quests.
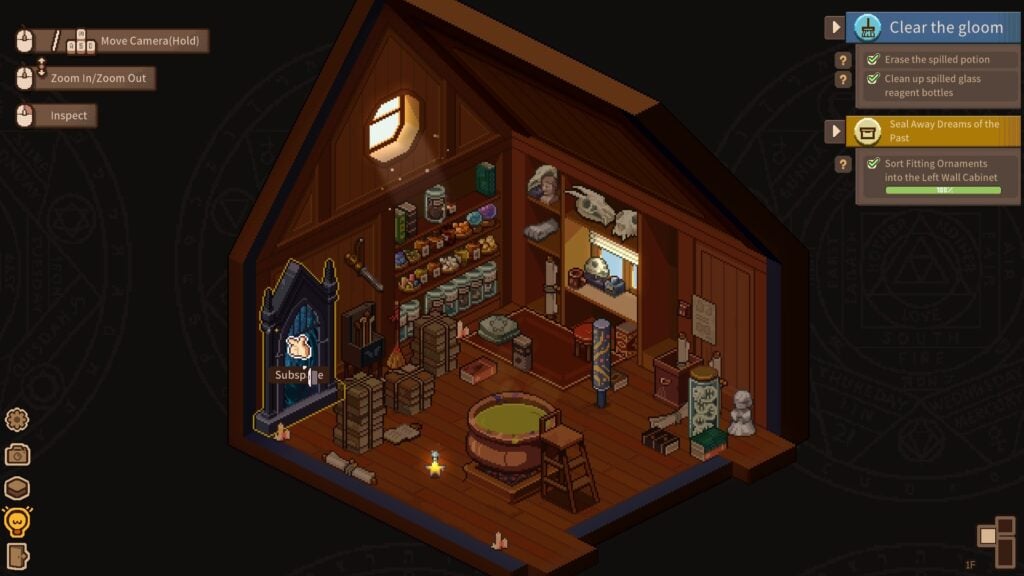
How to Unlock the Subspace
To unlock the subspace in Whisper of the House, you will need to craft the Mirror Dew in the Workshop. This is the third crafting recipe mentioned in the textured leather notebook.
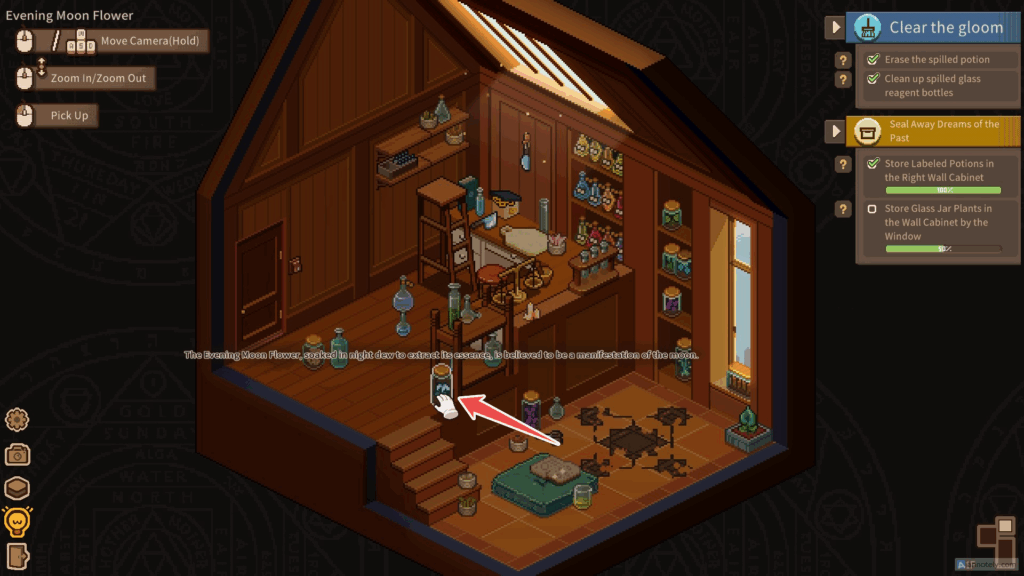
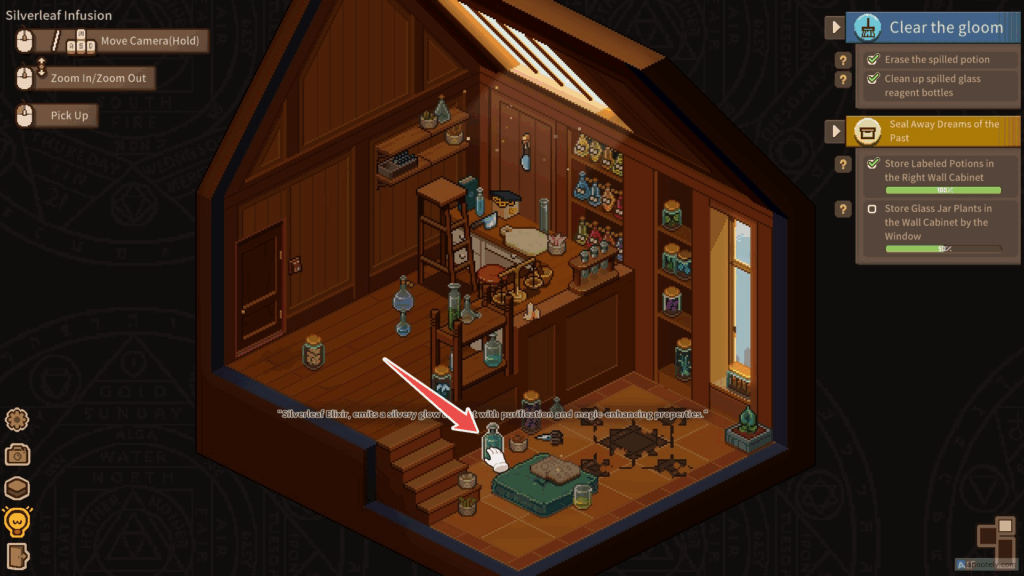
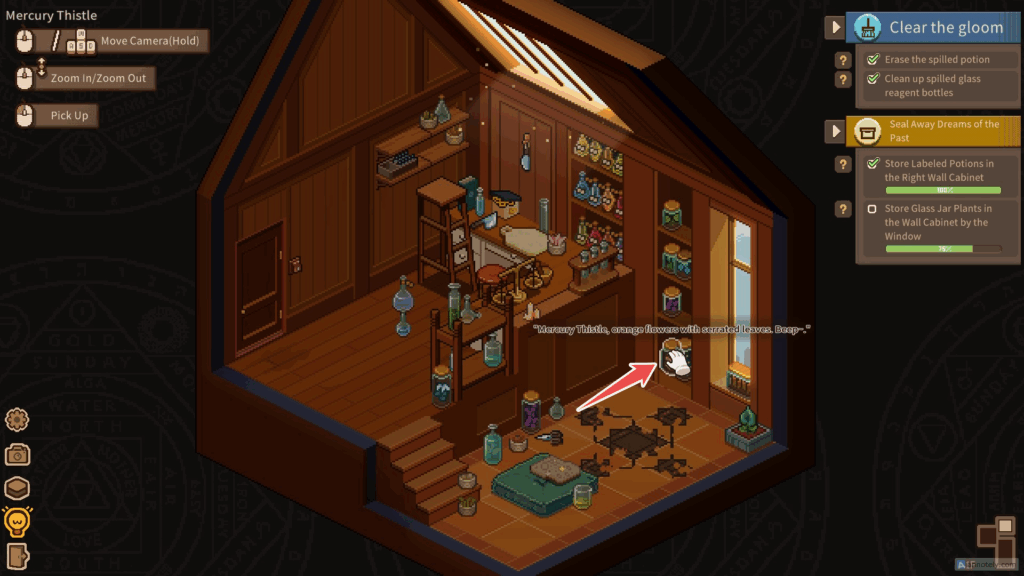
Mirror Dew: Moonflower + Mercury Thistle + Silverleaf Elixir
You can gather all three ingredients in the Herb’s Lab. The Mercury Thistle rests beside a potted plant on the right, the Silverleaf Elixir lies on the floor, and the Moonflower can be found on the floor near the stairway’s top.
Drop all three ingredients into the cauldron to get the “Dew of the Silver Mirror,” aka Mirror Dew.
Drag and drop the Mirror Dew into the mirror to unlock the Subspace. But hold off on stepping inside for now.
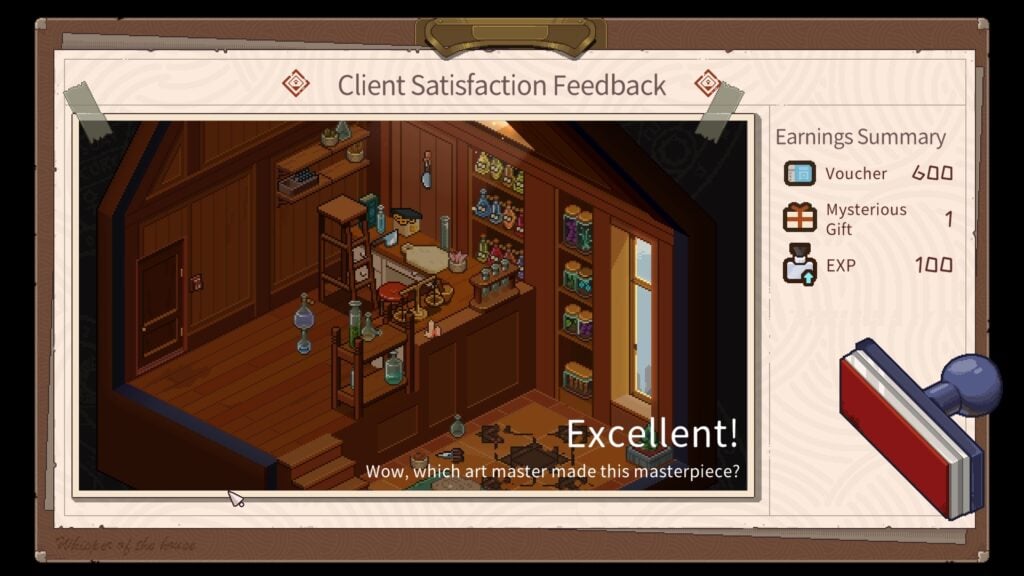
Click on the task checklist on the bottom left corner of the screen to get the client satisfaction feedback.
After taking a photo of the room and getting the seal of approval/rewards, the game will automatically exit you from the Alchemy Lab.
Note: If you don’t see the checklist in the bottom left corner of the screen, it means one of the tasks in Herb’s Lab isn’t completed. Make sure you have placed the remaining glass jar plants in the wall cabinet by the window in the Herb’s Lab to complete the task.
Finding Ian’s Sticker and Rescuing Him
Outside the lab, you will get a notification “Looks like something strange showed up in the photo”.

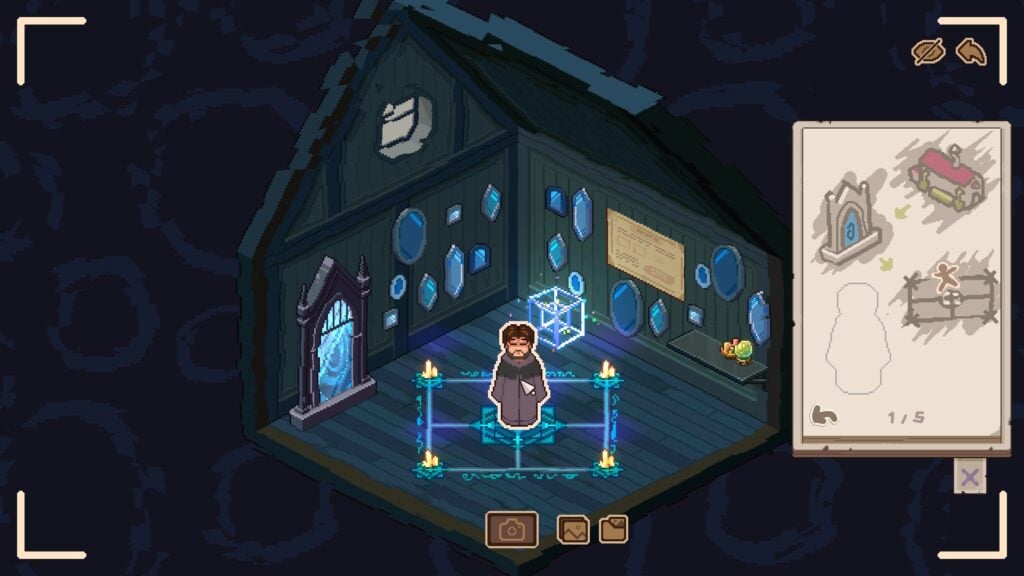
Enter the Alchemy Lab again. Go to the Workshop and press and hold the right mouse button on the mirror to enter the Subspace.
Follow the steps to complete the ritual:
- Right-click on the four-dimensional cube multiple times to break the curse.

- Place four candles on each corner of the Magic Square. Right-click on every candle to light it.
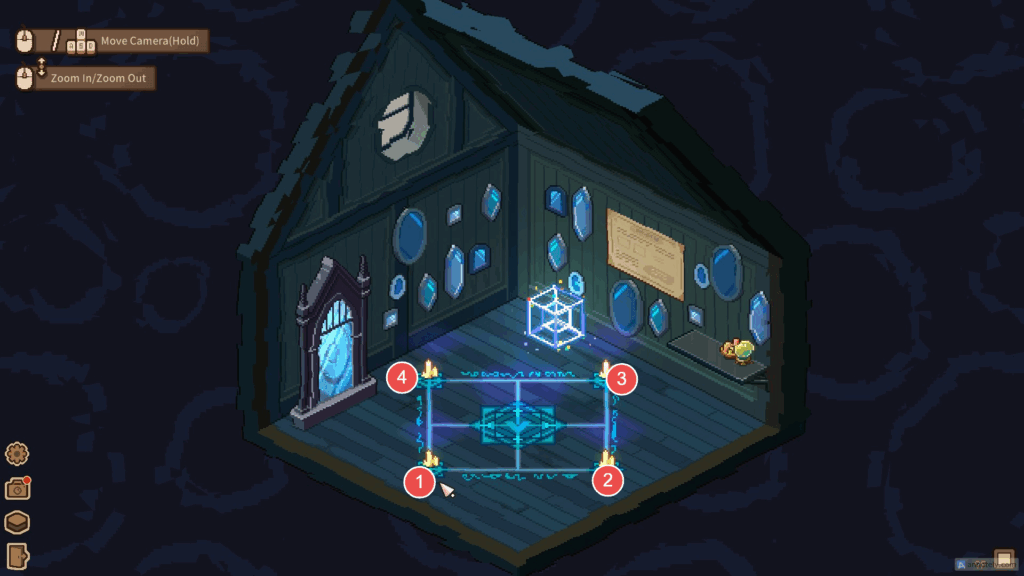
- Click on the camera icon on the left-hand side of the screen to take a photo.
- The sticker button on the right-hand side of the screen will shake, as if someone’s trapped and knocking on the button.
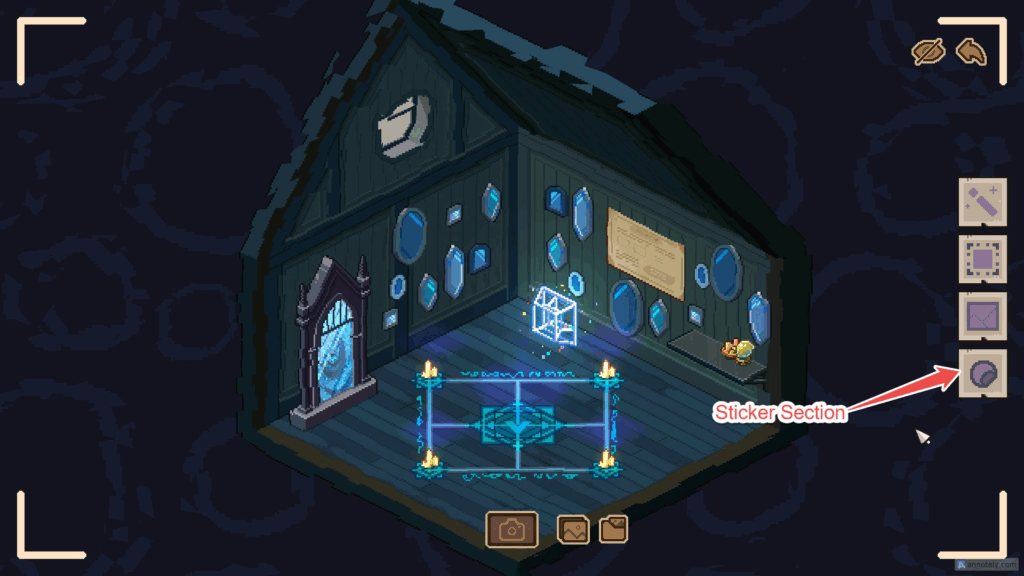
Click on the stickers button and drag and drop Ian’s sticker onto the middle of the magic square.

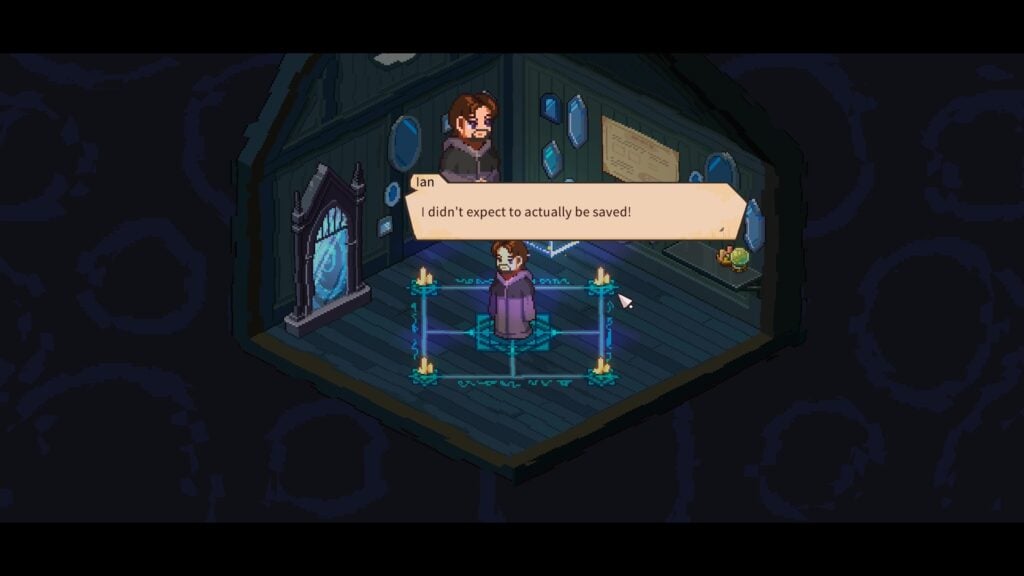
You have rescued Ian from the subspace in the Alchemy Lab. He will thank you, but wonders how to reach the higher dimensions. Whisper of the House will let you explore time travel in future quests; the Subspace is only the beginning!


when you pick up the skywing potion, the broom starts glowing and you can use it on the broom. then right click the broom to break it’s curse and you can use the potion on the broom again after.
Thanks so much for the tip, Kari! That helped a lot.
good~~~